

Open shelving looks dreamy on Pinterest, but in real life it can slide into “mug graveyard” fast.
The goal isn’t to display everything you own; it’s to frame a few workhorse items so your kitchen looks styled and still cooks well.
Ready to make those floating shelves look intentional instead of “I ran out of cabinet space”?
Let’s edit, layer, and add just enough personality—without the visual chaos.
Start With a Ruthless Edit
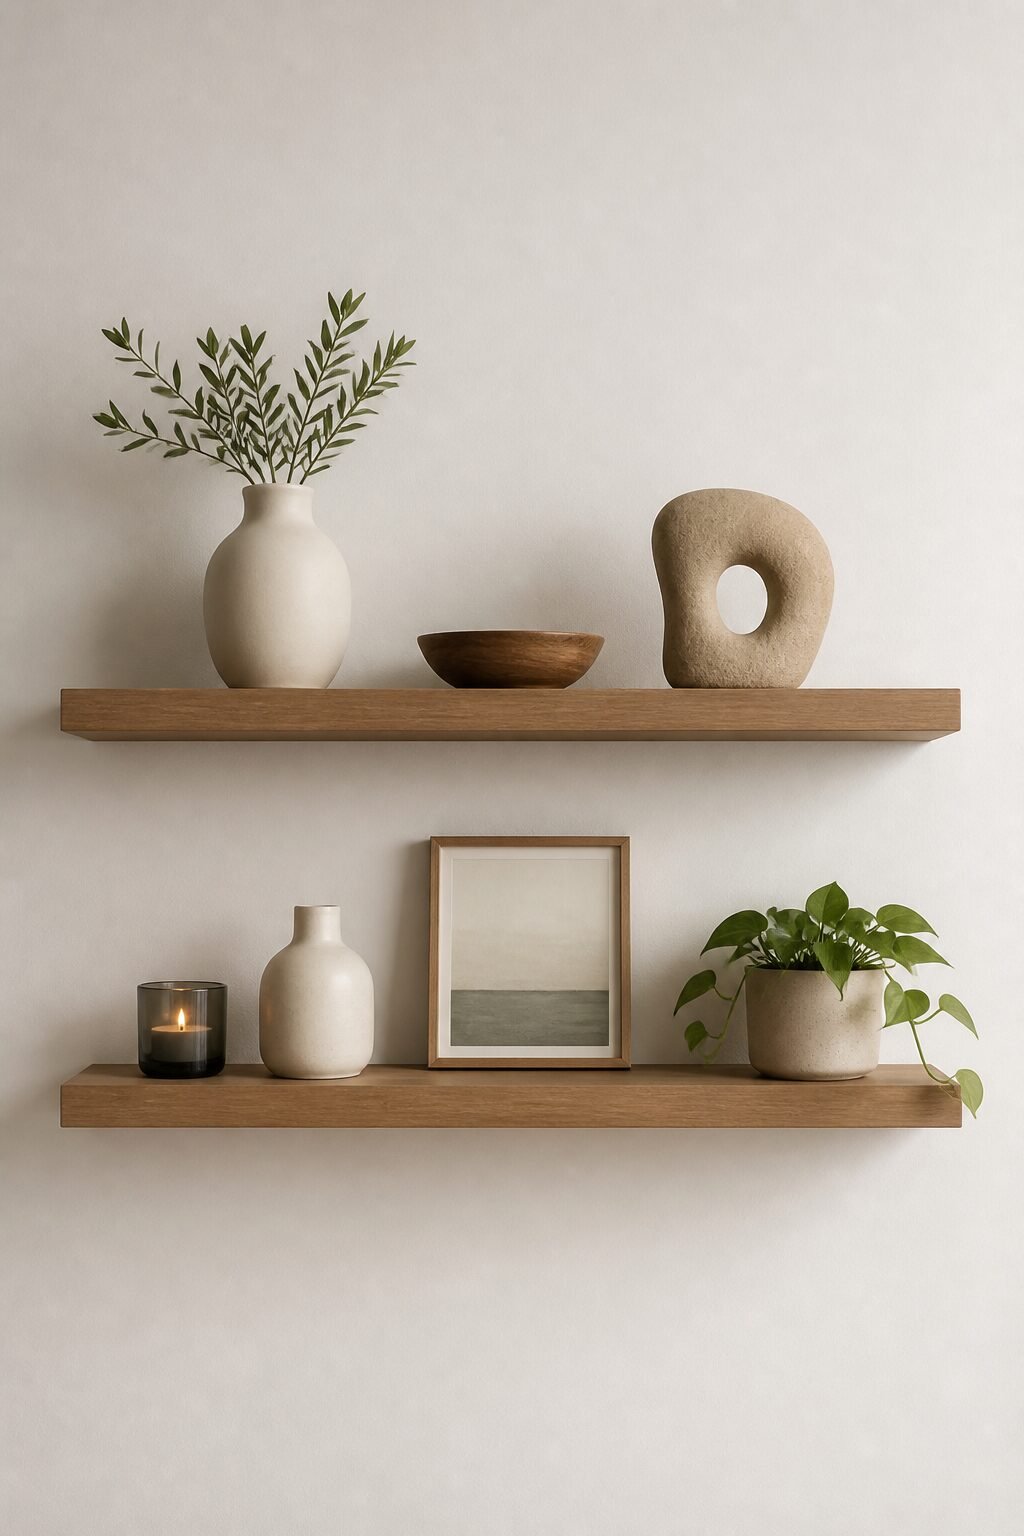
You can’t style clutter. Pull everything off the shelves and sort into three piles: daily use, display-worthy, and “why do I own six pizza cutters.” Keep only what earns its spot.
- Set a capacity rule: Decide a max number per shelf (e.g., 7 items). Stick to it like a stubborn cat.
- Choose a color story: Limit to 2-3 main tones plus one accent. Neutrals with warm wood and a pop of green? Chef’s kiss.
- Play with texture, not quantity: Mix matte ceramics, clear glass, woven baskets, and metal for interest without adding noise.
Use the “Triangle” Styling Trick
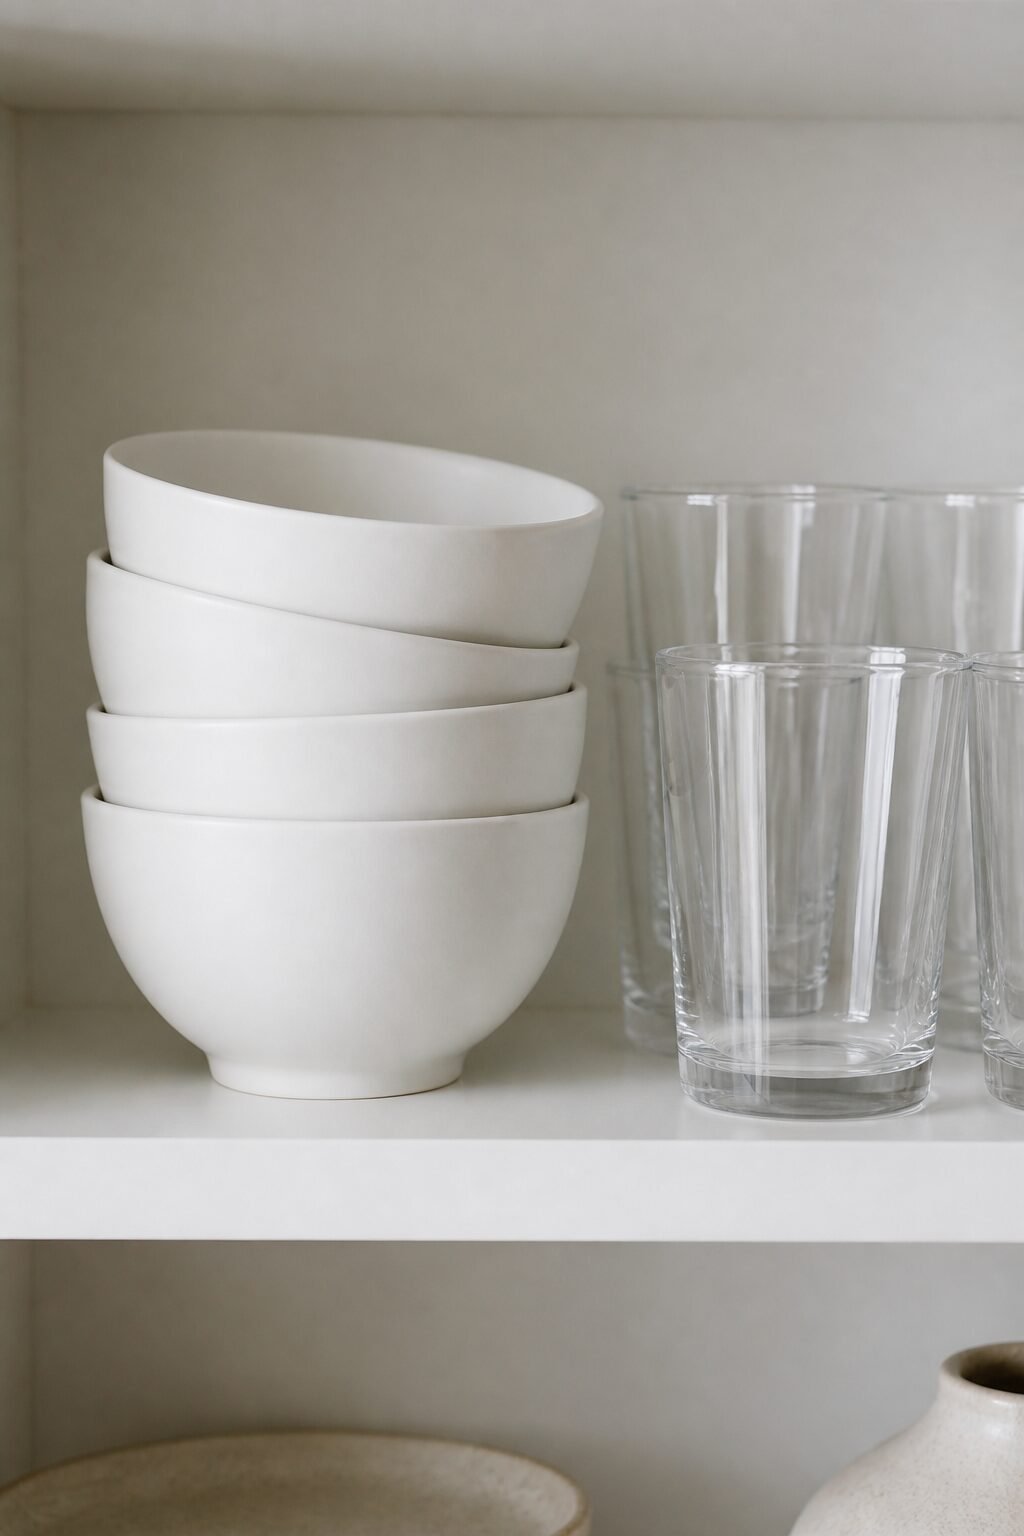
Your eye loves balance. Create a visual triangle across two or three shelves with repeating elements—like wood tones or greenery—at different heights.
- Anchor points: Place a taller item on the left of the top shelf, a medium on the right of the middle shelf, and a small pop on the left of the bottom shelf. Boom: triangle.
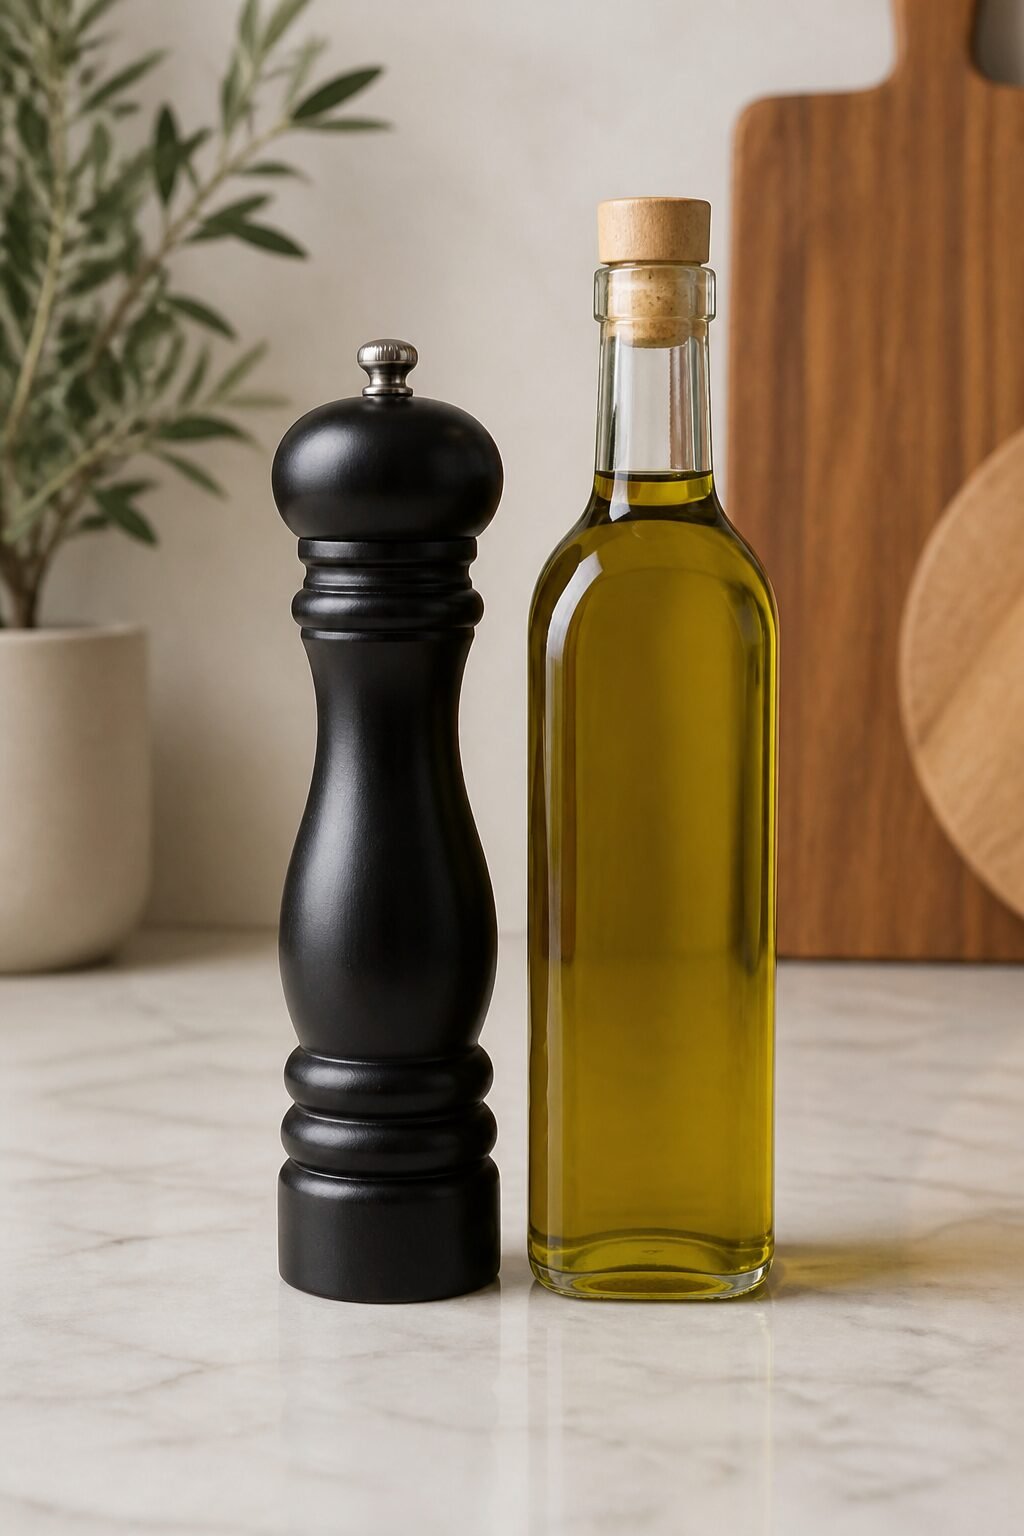
- Repeat materials: The same wood tray on the top and a wood pepper mill below ties things together without matching everything.
- Mind the negative space: Leave breathing room between groupings. If everything touches, your eye panics.
Practical Triangles That Work
- Stacked white plates (low), tall olive oil bottle (tall), small plant (pop of green)
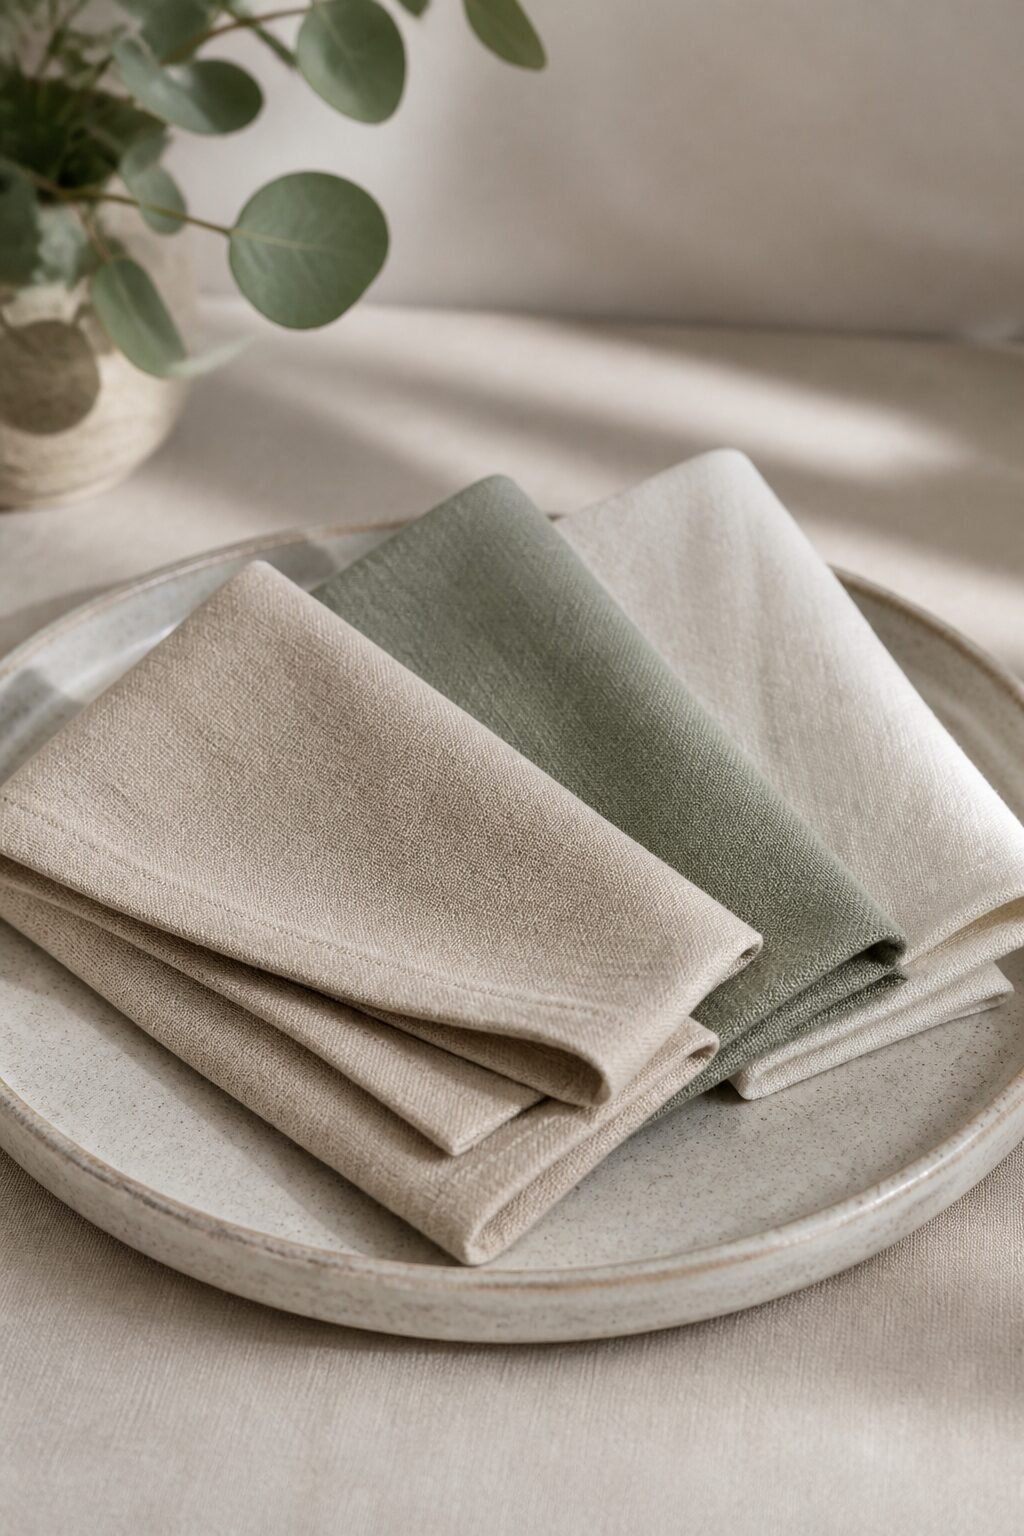
- Cutting board (tall), nested bowls (medium), folded linen napkins (low)
- Carafe (tall), mug stack (medium), salt cellar (low)
Style in Functional Zones
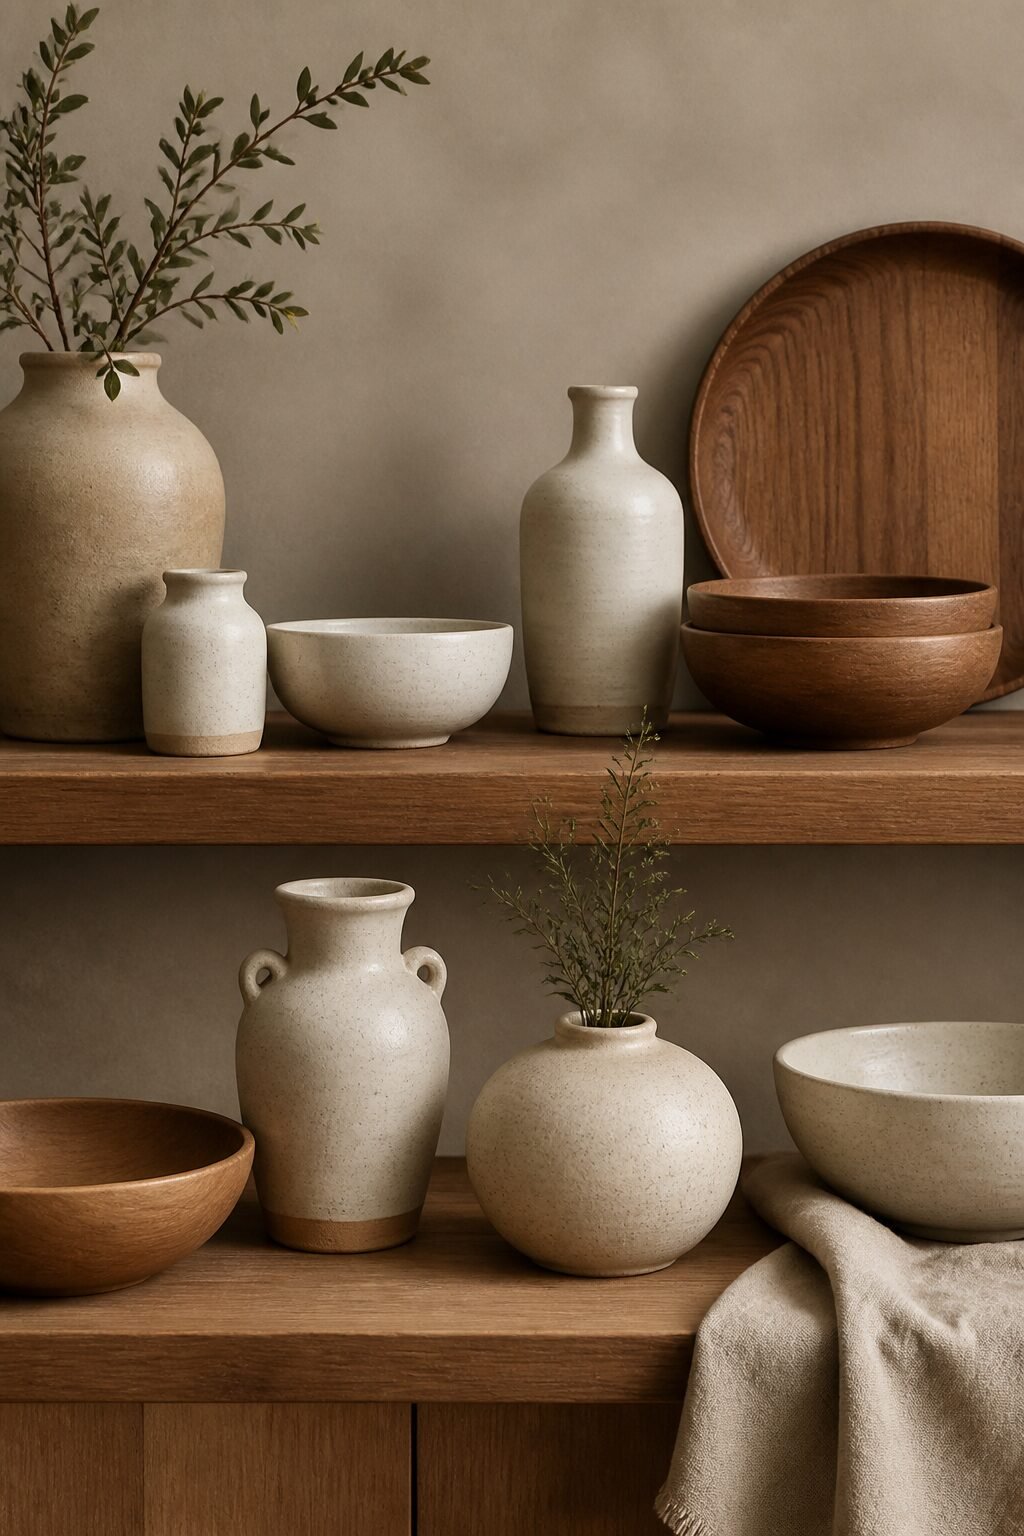
Floating shelves work best when they serve a micro-purpose. Think “coffee zone” or “pasta night station.”
- Coffee corner: Mugs, small jar of beans, sugar bowl, teaspoons in a cup. Done. No 14 novelty mugs, please.
- Prep station: Oils, vinegars, salt and pepper, small cutting board. Keep labels facing forward like they pay rent.
- Baking spot: Canisters for flour/sugar, measuring cups, a whisk in a crock. Practical and cute—IMO the best combo.
Zone Labeling Without Labels
Use a tray or shallow board to corral each zone. It reads as one “visual item” even if it holds five things. FYI: trays are basically magic for messy humans.
Think in Odd Numbers and Tight Groupings
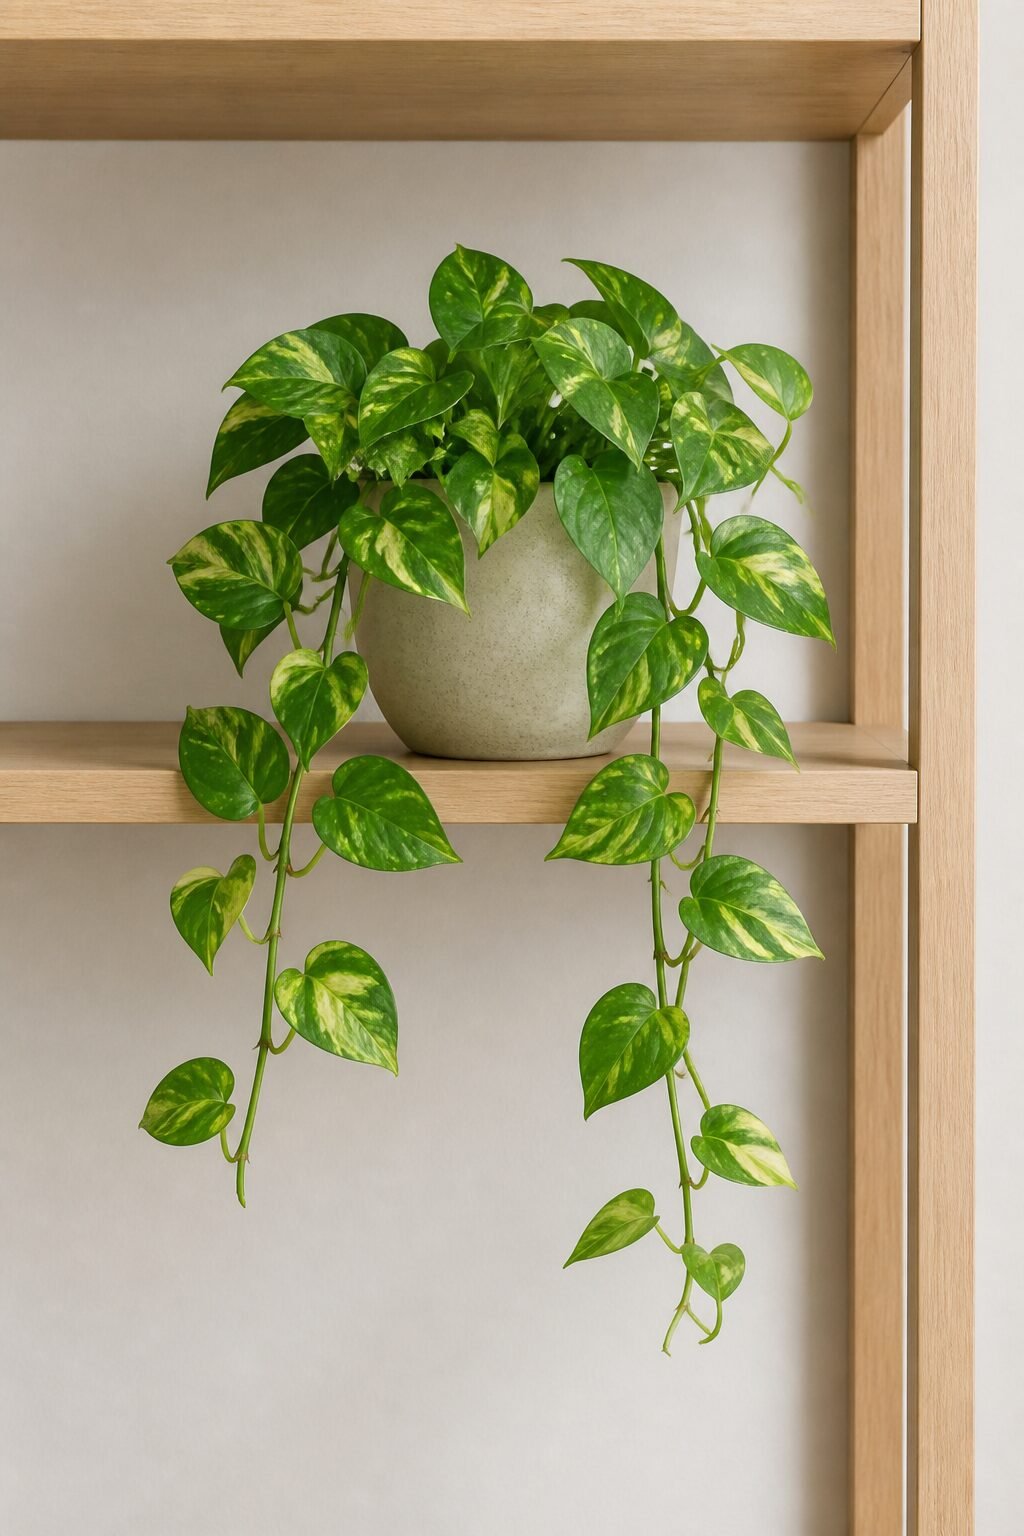
Objects look better in 3s and 5s. It’s design law. Group items of similar tone and vary the heights within the group.
- Stack, don’t spread: Pile plates or bowls to create height and reduce the “yard sale” vibe.
- Add risers: Use a small inverted bowl or a low stand behind items to stagger heights subtly.
- Hide the utilitarian stuff: Put ugly-but-necessary things in opaque canisters. You need the tea bags; you don’t need to see that garish box.
Texture, Greenery, and a Tiny Bit of Art
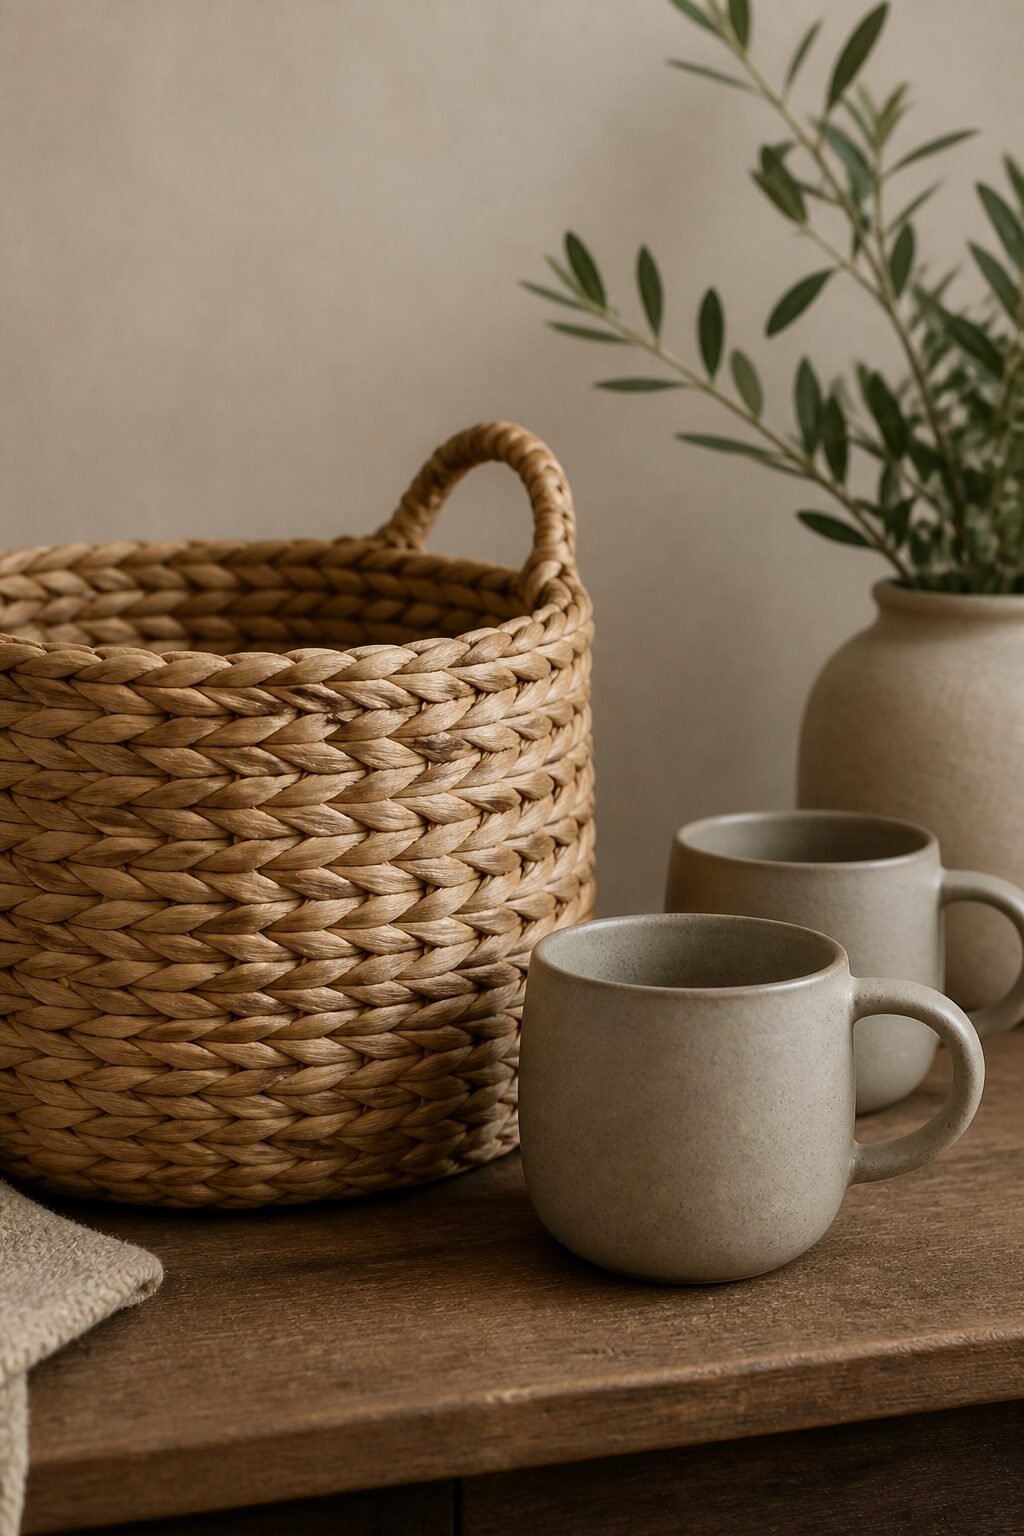
Your shelves need life, but not an indoor jungle. Add a little nature and one personal moment.
- Greenery: One small plant per two shelves max. Trailing pothos or a petite herb pot looks fresh without hogging space.
- Art: Lean a small framed print or recipe card behind a stack. Keep frames thin and simple.
- Warm textures: A woven basket for napkins or snack packs adds warmth and hides chaos. Win-win.
Color Restraint = Calm Shelves
Limit bold colors to one zone or one item per shelf. That cherry-red kettle? Great focal point. Three neon bowls next to it? Chaos. Edit with a cold heart.
Containers Are Your Secret Weapon
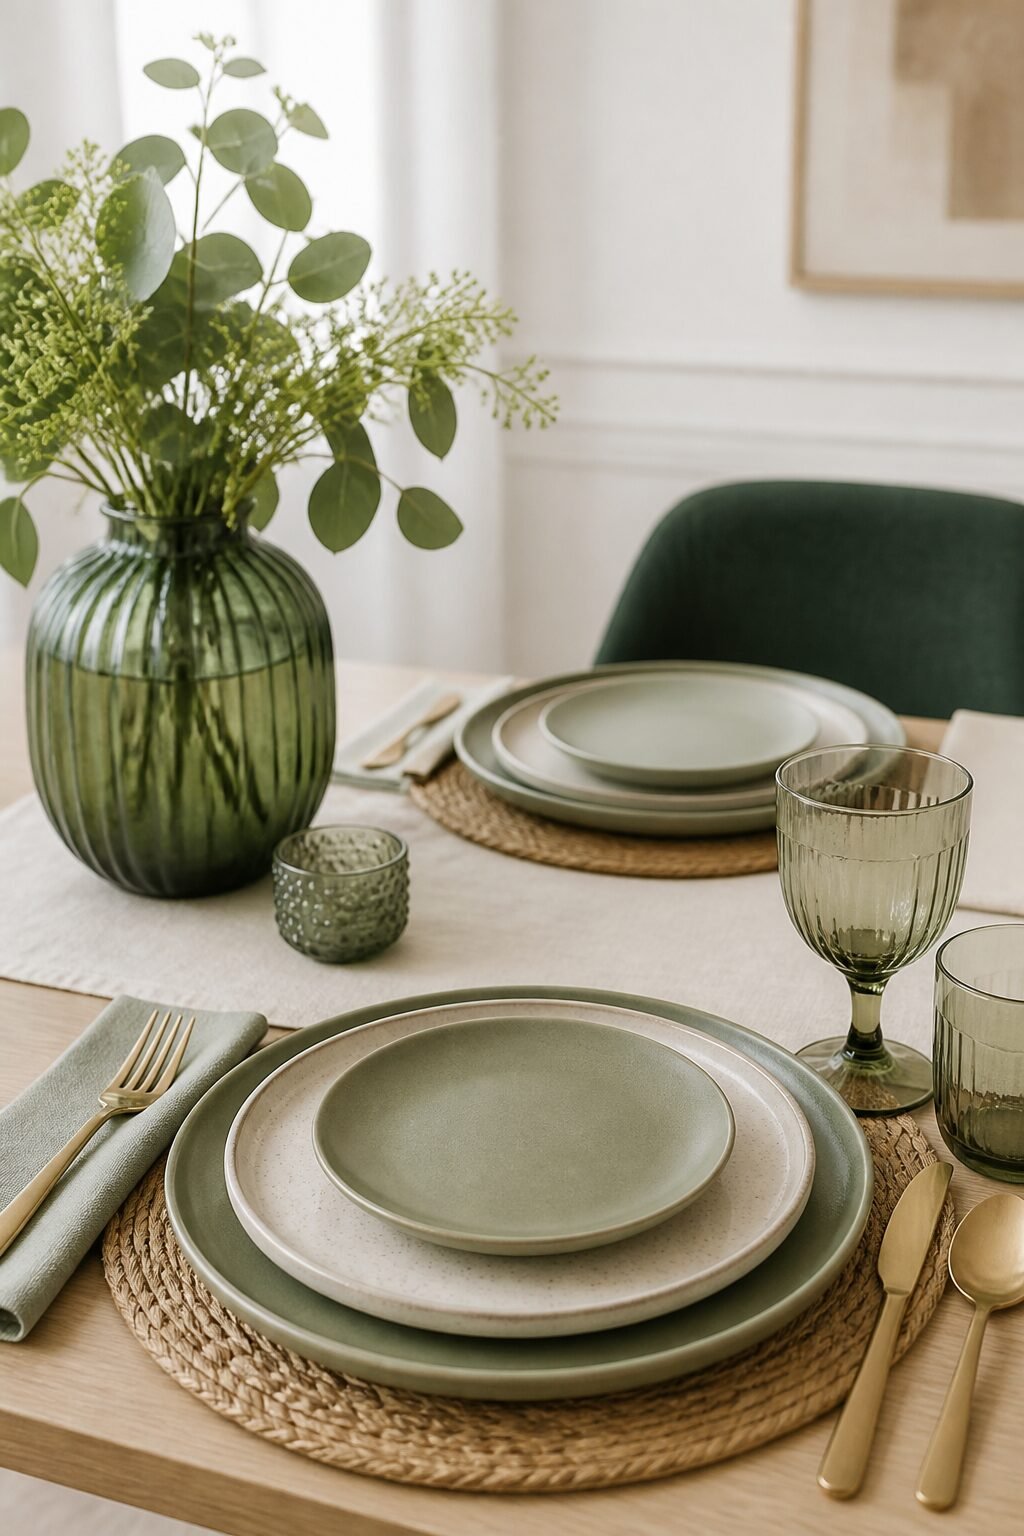
Transparent containers look tidy and make you feel like you have your life together. Opaque ones hide the gremlins.
- Clear glass jars: Great for pasta, rice, and nuts. They double as decor when you decant and ditch the bag.
- Stoneware crocks: Hide spatulas or whisks and add heft so the shelf feels grounded.
- Low trays or boards: Corral bottles and prevent ring marks. Also makes cleaning easier—slide, wipe, done.
Decanting Without the Drama
No need to label everything like you’re running a boutique. Use painter’s tape on the bottom for dates and cooking times. Invisible, functional, sane.
Lighting and Shelf Proportions Matter
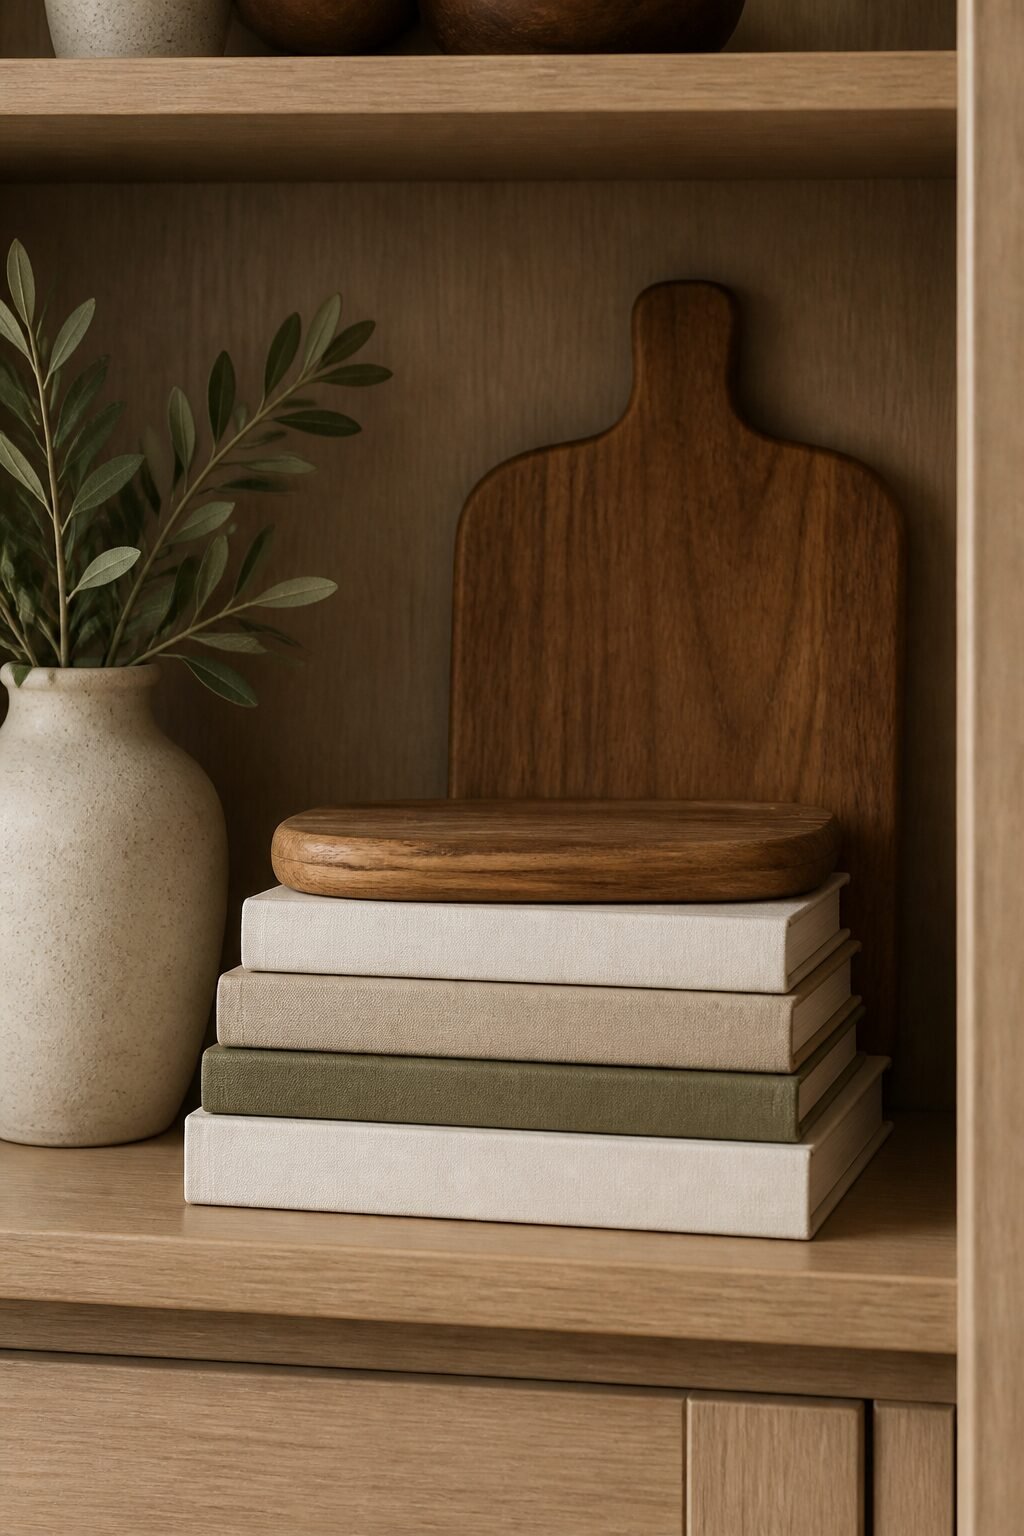
If your shelves look cluttered even when they aren’t, the issue might be scale or shadows.
- Proportion check: Heavier items on lower shelves, lighter and smaller items up top. Your eye expects gravity.
- Even spacing: Keep consistent gaps between items and from the shelf edges. Symmetry calms the chaos.
- Lighting: Add a small puck light or LED strip under the shelf. Light erases shadowy clutter and highlights your curated zone.
When the Shelf Itself Is the Problem
If your shelves are too shallow, skip deep bowls and tall bottles. If they’re very thick or dark, use more glass and white ceramics to lighten the look. Sometimes the shelf needs styling, not just the stuff on it.
Maintenance: 5-Minute Reset Habit
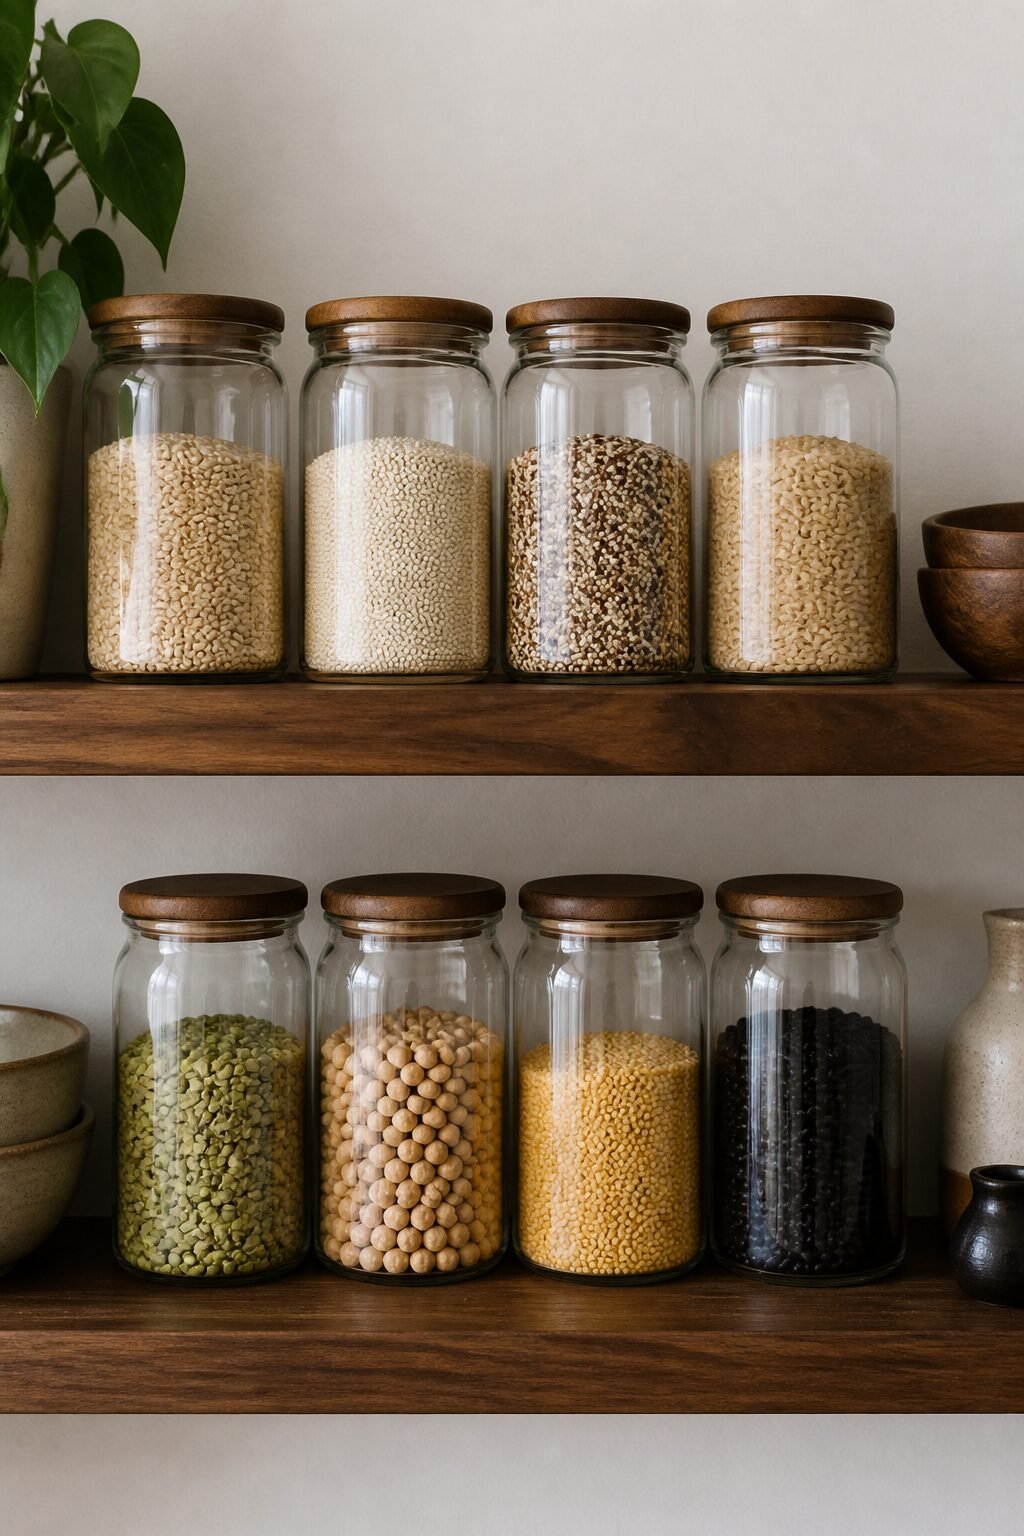
Beautiful shelves don’t stay that way by accident. Treat them like a tiny room that needs a quick tidy.
- Put back stray mugs and tools.
- Realign labels and fronts. (Yes, it matters.)
- Wipe crumbs and oil rings.
- Pull anything that crept in and doesn’t belong.
- Swap a seasonal sprig or tea towel for freshness.
Pro tip: If something annoys you twice in one week, it’s wrong for the shelf. Relocate or donate—no guilt.
FAQs
How many items should I put on each floating shelf?
Aim for 5-7 items on a standard 24-36 inch shelf, grouped into two or three clusters. Count a stack of bowls or a tray as one item. If your eye can rest on empty space, you nailed it.
What should actually live on open shelves versus behind closed doors?
Keep daily-use and pretty items on display: plates, bowls, mugs, oils, canisters, and a few serveware pieces. Hide mismatched plastic containers, stained mugs, and the fifty-pack of ramen in cabinets. Display doesn’t mean storage overflow, IMO.
Do I need to decant everything to make it look tidy?
Nope. Decant the stuff you reach for weekly and that looks good in clear jars—pasta, rice, oats. Leave specialty items in the pantry. You’re styling for real life, not a photoshoot.
How do I keep open shelves from getting greasy or dusty?
Place a tray under oils and seasonings, and do a quick weekly wipe-down. Wash ceramics and glass every month or so. If your range sits right under the shelves, consider a small under-cabinet hood or move the greasiest items to a closed cabinet.
Can I mix metals and woods on the same shelves?
Yes, and you should. Mix one warm metal (brass, copper) with stainless or black, then repeat each finish at least twice for intention. Pair with a consistent wood tone to avoid the thrift-store mashup look.
What if my kitchen is tiny and I need the storage?
Go vertical with fewer, taller stacks and use lidded baskets to hide extras. Prioritize items that work hard and look decent—white dinnerware, clear glass, simple canisters. Keep most utilitarian stuff behind doors and let the shelves act as a curated highlight reel.
Conclusion
Great floating shelves don’t show everything; they show the right things. Edit hard, group with intention, repeat textures and tones, and give every object a job. Keep a tiny reset habit, and your shelves will stay styled, functional, and delightfully uncluttered—like you totally planned it that way from day one, obviously.