

You want to fall asleep under a wisteria canopy without, you know, planting a tree in your bedroom? Same.
The good news: you can create a dreamy, cascading ceiling of blossoms with a few clever materials and some easy installs.
You’ll get that soft, romantic glow and drapey florals that look straight out of a fairytale—minus the pollen.
Ready to turn your room into a blooming sanctuary?
Pick Your Wisteria: Realistic, Durable, and the Right Color

Fake florals get a bad rap, but the right picks look stunning. You want long, layered sprays that drape naturally and don’t shed glitter or weird plastic bits.
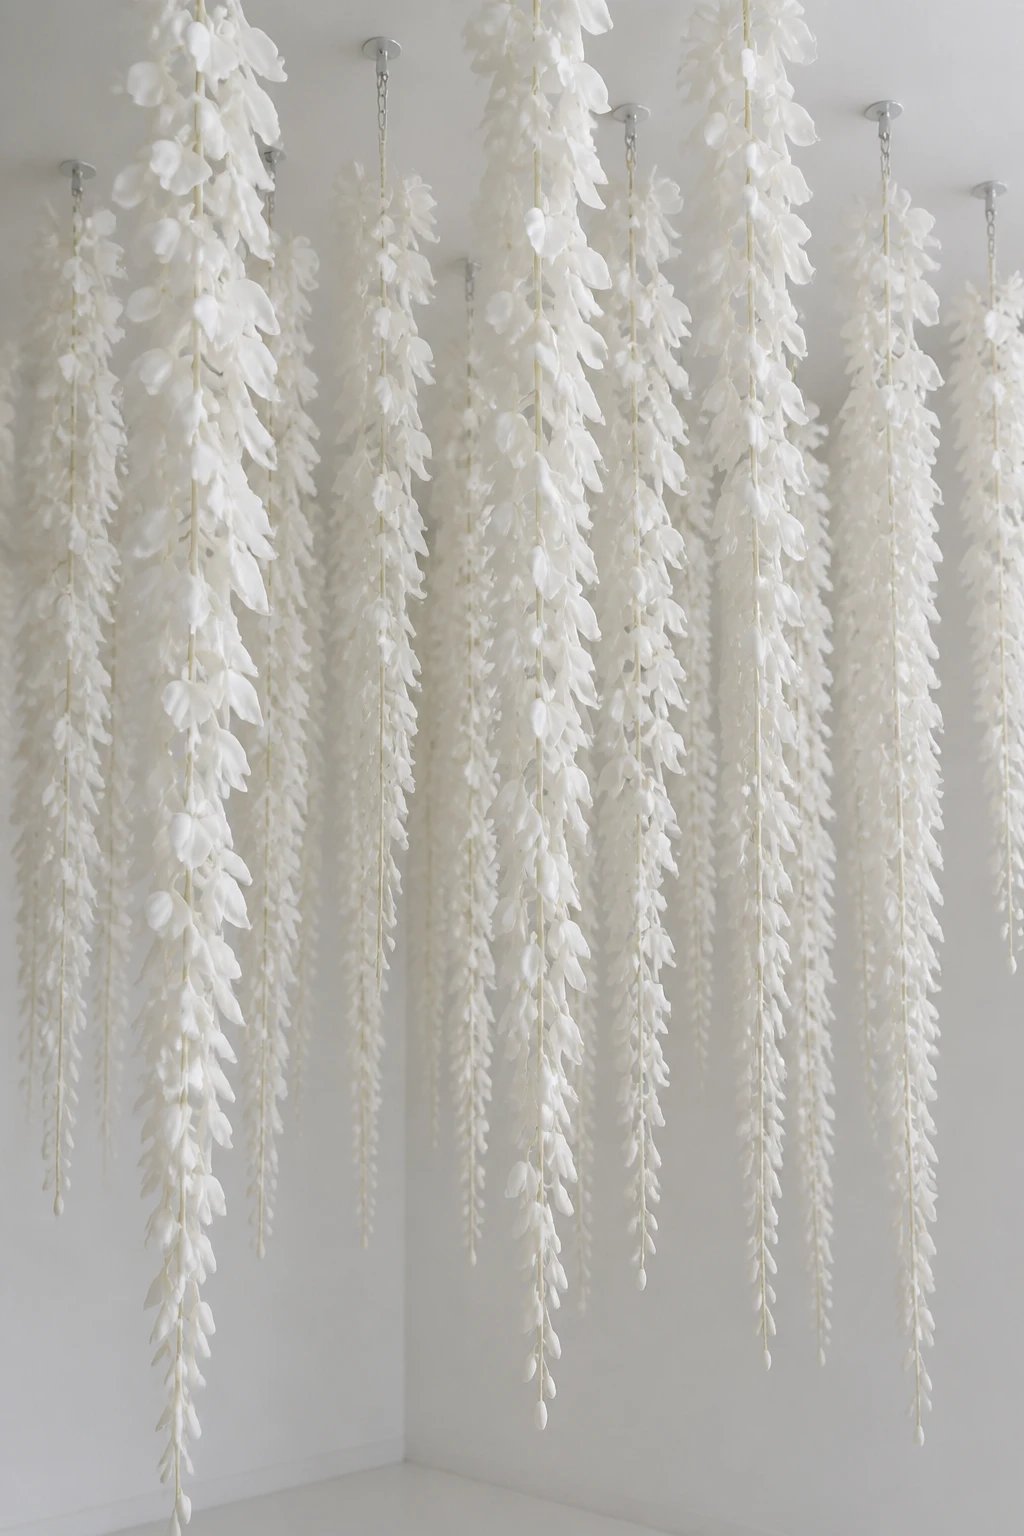
- Look for realistic silk or soft latex wisteria with multiple blossom clusters and subtle color gradients.
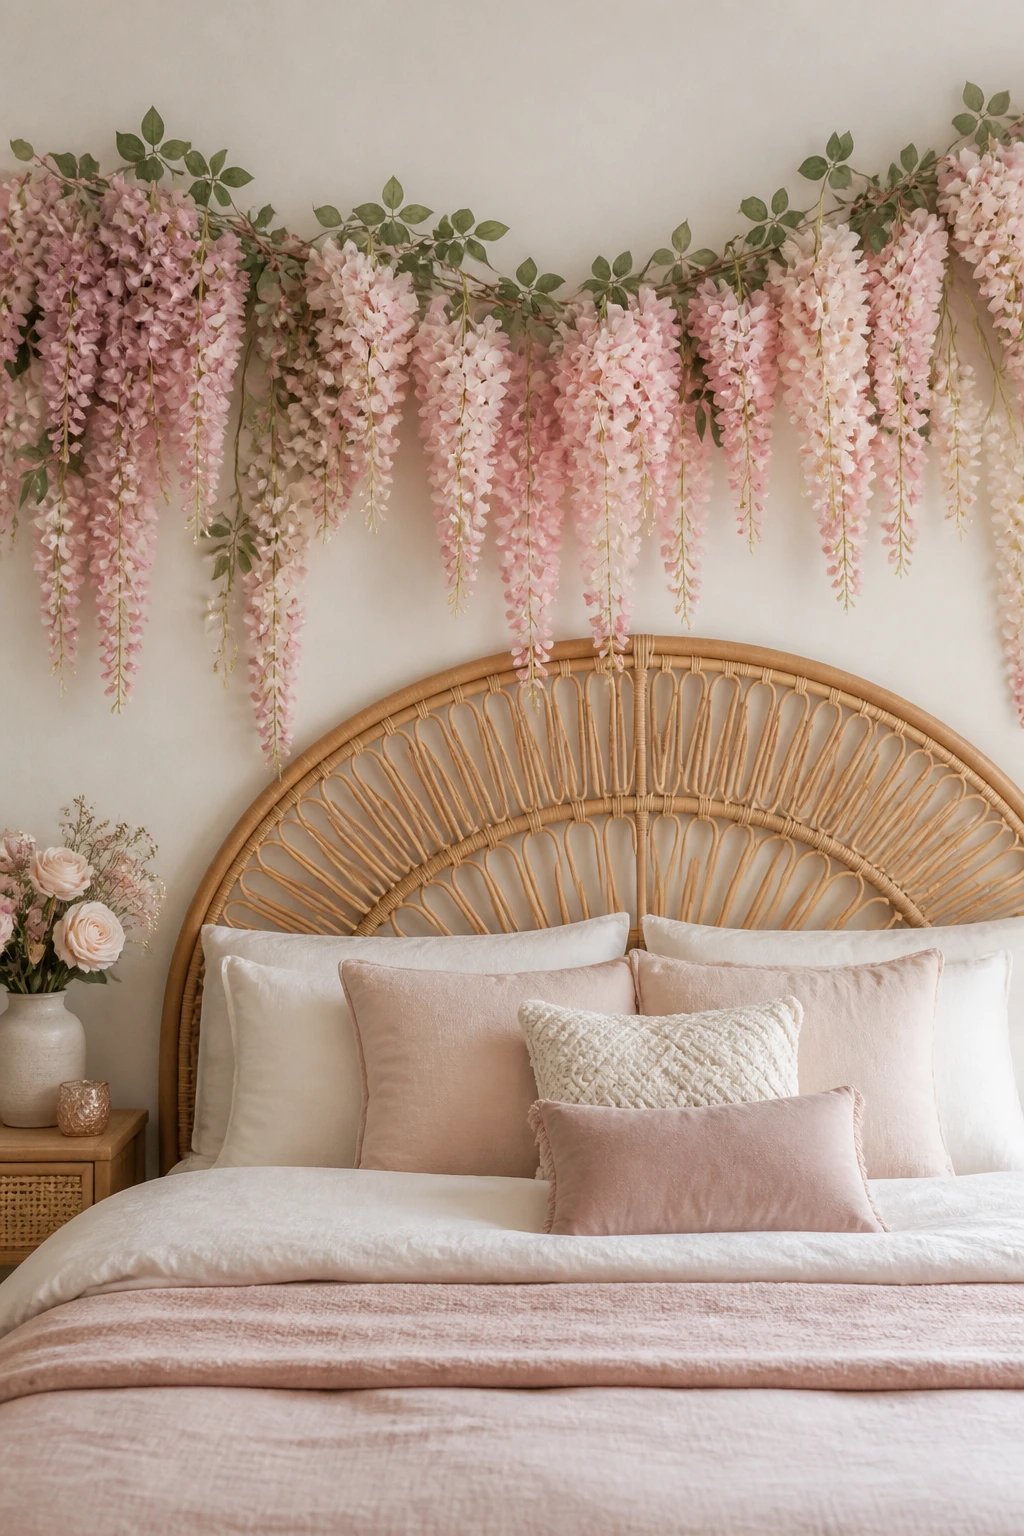
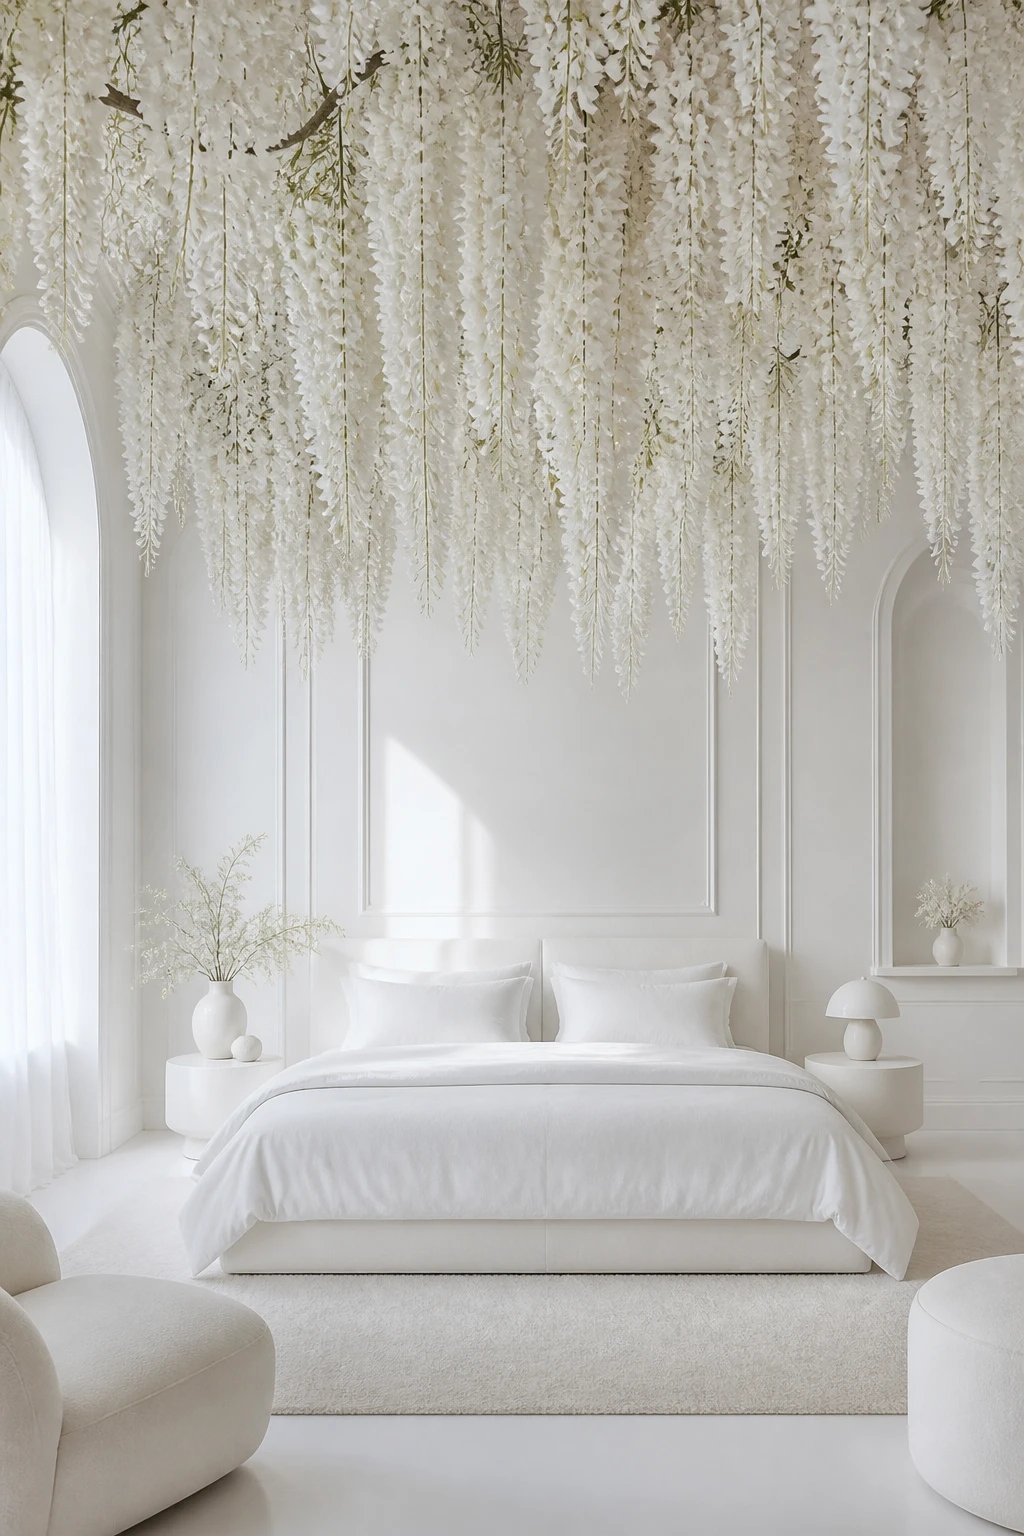
- Choose your vibe: lavender for classic romance, white for airy minimalism, blush for warm coziness.
- Buy extra length (36–45 inches per stem) so the canopy actually cascades—short stems look skimpy.
How Much to Buy
A good rule: plan for 8–12 stems per linear foot of canopy edge if you want lush fullness. For a queen bed canopy perimeter, you’ll likely want 80–120 stems. It sounds like a lot, but this is what creates that waterfall effect. IMO, too much beats too little every time.
Map the Canopy: Where the Magic Happens
Before you grab a ladder, sketch your space. Decide if you want a full-ceiling cloud or a perimeter frame that cascades over the bed.
- Perimeter canopy: outline the bed with a U or rectangle and let vines spill inward and down the headboard.
- Center “cloud” cluster: hang a dense grouping directly above the bed and taper out for a soft fade.
- Wall-to-ceiling sweep: start at the wall behind your bed and carry the blooms across the ceiling a few feet.
Check Sightlines and Head Clearance
Lie on the bed and look up. Will you see gaps? Will a tall partner head-butt a blossom daily? Keep the lowest hang point at least 18–24 inches above the tallest person’s head. No one likes an accidental floral mustache at 3 a.m.
Choose Your Support System (No Holes? No Problem.)
You’ll hang everything from a lightweight, flexible framework. Think removable, renter-friendly, and strong enough for many stems.
- Transparent ceiling hooks + nylon fishing line: great for creating invisible support lines in a grid.
- Stick-on cable clips: perfect if you can’t drill. Choose ones rated for at least 2–5 pounds each.
- Expandable curtain rods or a canopy frame: ideal for perimeter builds without touching the ceiling.
- Mesh netting or garden trellis panels: attach to a few anchor points, then weave florals through for easy styling.
Weight and Safety FYI
Silk florals weigh more than you think. Keep total ceiling load under 8–12 pounds unless you’re anchored into studs with proper hardware. If you rent, use multiple adhesive clips to distribute weight. Always test with a gentle tug before bed—better now than at 2 a.m.
Layer the Look: From Structure to Softness

Here’s your build order so it looks intentional, not like a craft store sneezed on your ceiling.
- Create a light grid using fishing line or thin floral wire between your anchor points. Spacing: 6–10 inches apart.
- Add fairy lights under the grid. Warm white, micro-LED, battery or plug-in with smart timers. Weave them loosely.
- Attach greenery garlands first (eucalyptus, ivy, or wisteria vines without blooms). This hides lines and adds depth.
- Layer wisteria stems starting at the ceiling edge and working inward. Stagger lengths and angles for a natural cascade.
- Fill gaps with shorter stems or loose blossoms. Step back often and check from different angles.
Pro Styling Tricks
- Vary length: mix long droops with mid-length to avoid a flat curtain.
- Blend two tones: try soft lavender plus white for depth and realism.
- Hide mechanics: use green floral tape or zip ties to secure stems and conceal shiny bits.
- Create asymmetry: let one corner dip lower. It reads more organic and less “hotel lobby.”
Light It Like a Dream (Not a Holiday Display)

Lighting makes or breaks the vibe. You want glow, not glare.
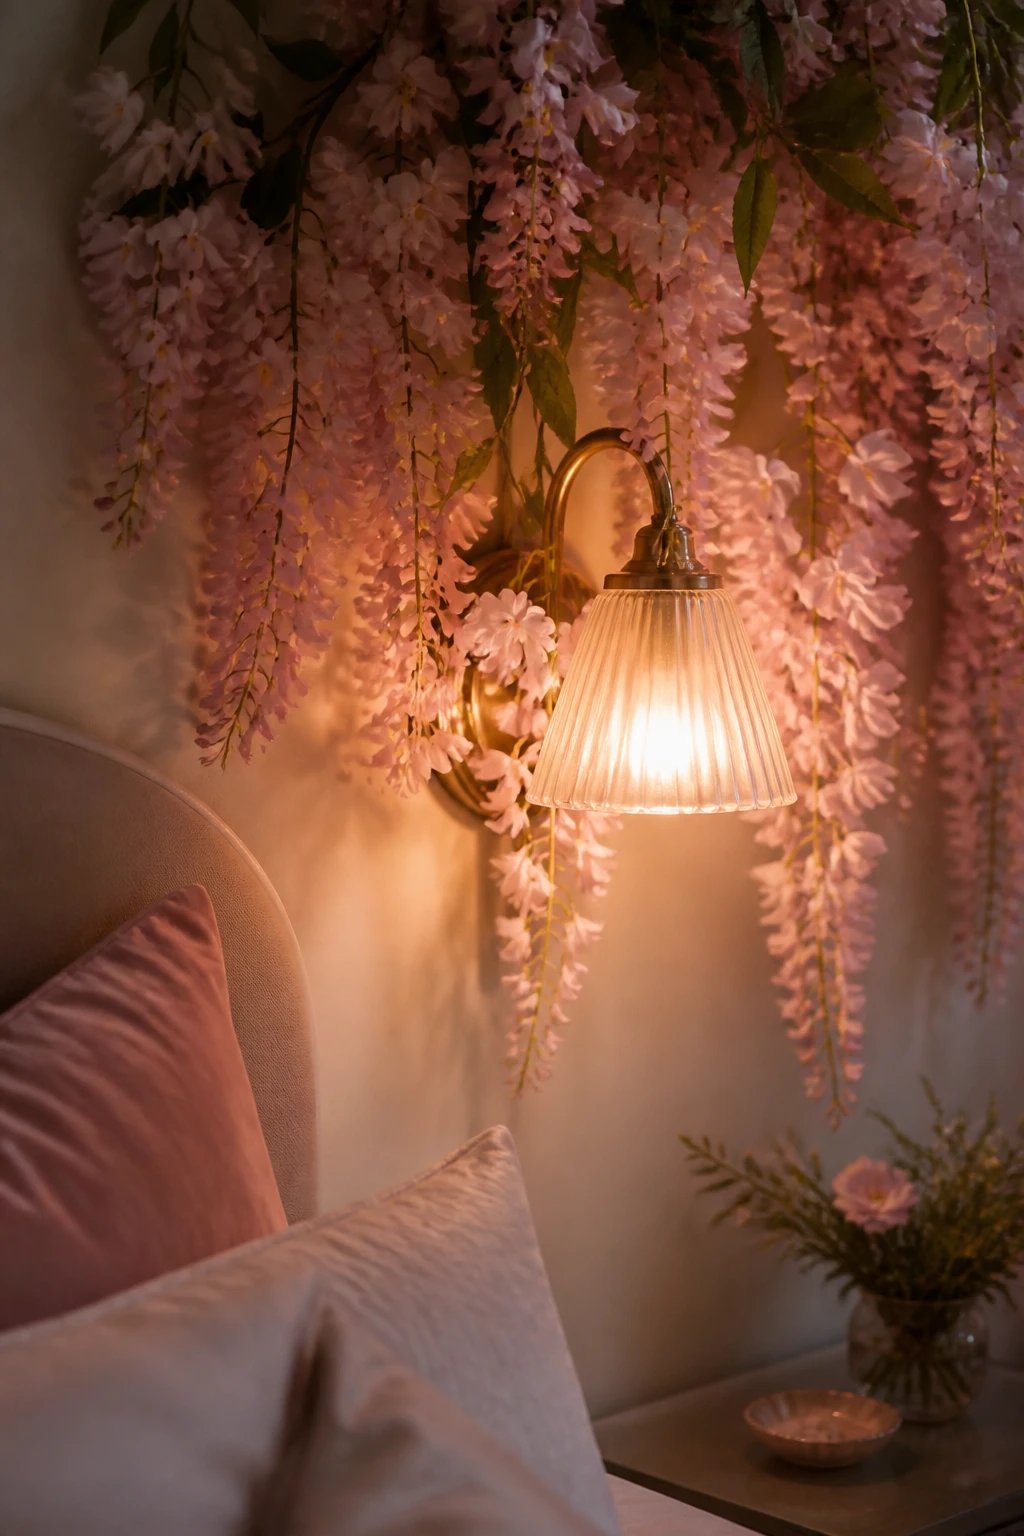
- Warm white fairy lights at 2200–2700K keep it cozy and flattering.
- Use dimmers or smart plugs to set bedtime routines and keep your circadian rhythm happy.
- Hide the power source behind a nightstand or headboard. Run cords in adhesive cable channels along wall edges.
- Optional sparkle: add a few LED dew-drop strings deeper in the canopy for layered twinkle.
Safety Check
Keep lights that stay cool to the touch. Most micro-LEDs barely warm up, which is what you want near fabric florals. No incandescent strands, ever. Also, avoid blocking sprinklers or smoke detectors—yes, that matters.
Color Palette and Textures: Make It Cohesive

Your canopy steals the show, so let the rest of the room support it.
- Match undertones: cool lavender pairs with cool grays and crisp whites; warm blush works with creams and natural woods.
- Echo the florals: add a throw pillow or two in the same hue—just don’t go matchy-matchy overload.
- Balance with texture: linen bedding, velvet cushions, or a woven headboard keep it from feeling too “princess party.”
Bonus Accents
A gauzy bed canopy or sheer curtain panels behind the headboard amplify the softness. Add a small mirror opposite the canopy to bounce light, but keep frames minimal so the florals stay the star.
Install Day: Step-by-Step Game Plan
Grab a friend, a step stool, and snacks. You’ll finish in an afternoon if you plan well.
- Measure and mark your anchor points. Use painter’s tape to outline your canopy shape on the ceiling.
- Install anchors (hooks, clips, or rods) following weight guidelines. Test each point.
- Run your grid with fishing line. Keep it taut but not guitar-string tight.
- Weave lights and secure battery packs or plug ends where you can reach them.
- Add greenery base to soften lines and create that “forest ceiling” vibe.
- Attach wisteria stems from the outer edges inward, alternating colors and lengths.
- Fine-tune: step back, snap photos, and adjust any obvious clumps or bald spots.
Care and Upkeep: Keep It Fresh
Maintenance takes five minutes a month. You’ve got this.
- Dust monthly with a handheld duster or cool hairdryer on low.
- Spot clean silk petals with a damp microfiber cloth—no harsh cleaners.
- Retighten ties if anything sags. Adhesive clips may need replacing every 6–9 months.
- Battery swap for lights every 2–3 months if not plugged in. Set reminders. Future you will thank present you.
FAQ

Will a wisteria canopy make my room feel smaller?
Not if you style it right. Keep the densest area over the bed and let it taper out. Use lighter colors and warm, dimmable lights to create depth. Add mirrors or keep surrounding decor minimal so the canopy reads as a focal point, not clutter.
Can I do this in a rental without drilling?
Yes. Use high-strength adhesive cable clips and lightweight mesh or fishing line. Distribute the weight across more clips than you think you need. When you move out, remove clips slowly with heat from a hairdryer to avoid paint damage. FYI, always check your lease just in case.
How do I keep it from looking fake?
Choose realistic stems with natural color gradients and mix two complementary shades. Layer greenery first, vary stem lengths, and avoid perfect symmetry. Also, steer clear of neon purples—soft, muted tones look more convincing, IMO.
Is it safe to have lights next to faux florals?
With micro-LEDs, yes. They run cool and sip energy. Keep plugs accessible, avoid trapping power bricks in fabric, and never use incandescent bulbs. If anything feels warm, reposition or reduce the density around that spot.
What if my ceiling is textured or I have a fan?
Textured ceilings play fine with adhesive clips as long as the texture isn’t extreme. For a ceiling fan, build a perimeter canopy or a half-canopy behind the headboard and leave clear airspace around the blades. No one wants petal confetti every time you turn the fan on.
How much will this cost?
Budget builds can land around $80–$150 with affordable stems and stick-on clips. Mid-range with fuller coverage and quality florals runs $200–$400. Add premium stems and smart lighting, and you’re looking at $500+. Decide your fullness level first, then shop accordingly.
Wrap-Up: Your Personal Indoor Bloom

A wisteria canopy brings instant romance, softness, and a little main-character energy to your bedroom. Build a lightweight framework, layer greenery and lights, then drape those dreamy blossoms until it feels like spring decided to move in. Keep it safe, tweak it seasonally, and enjoy the nightly “wow.” Honestly, it’s the easiest way to turn bedtime into a mini escape—no gardening gloves required.