

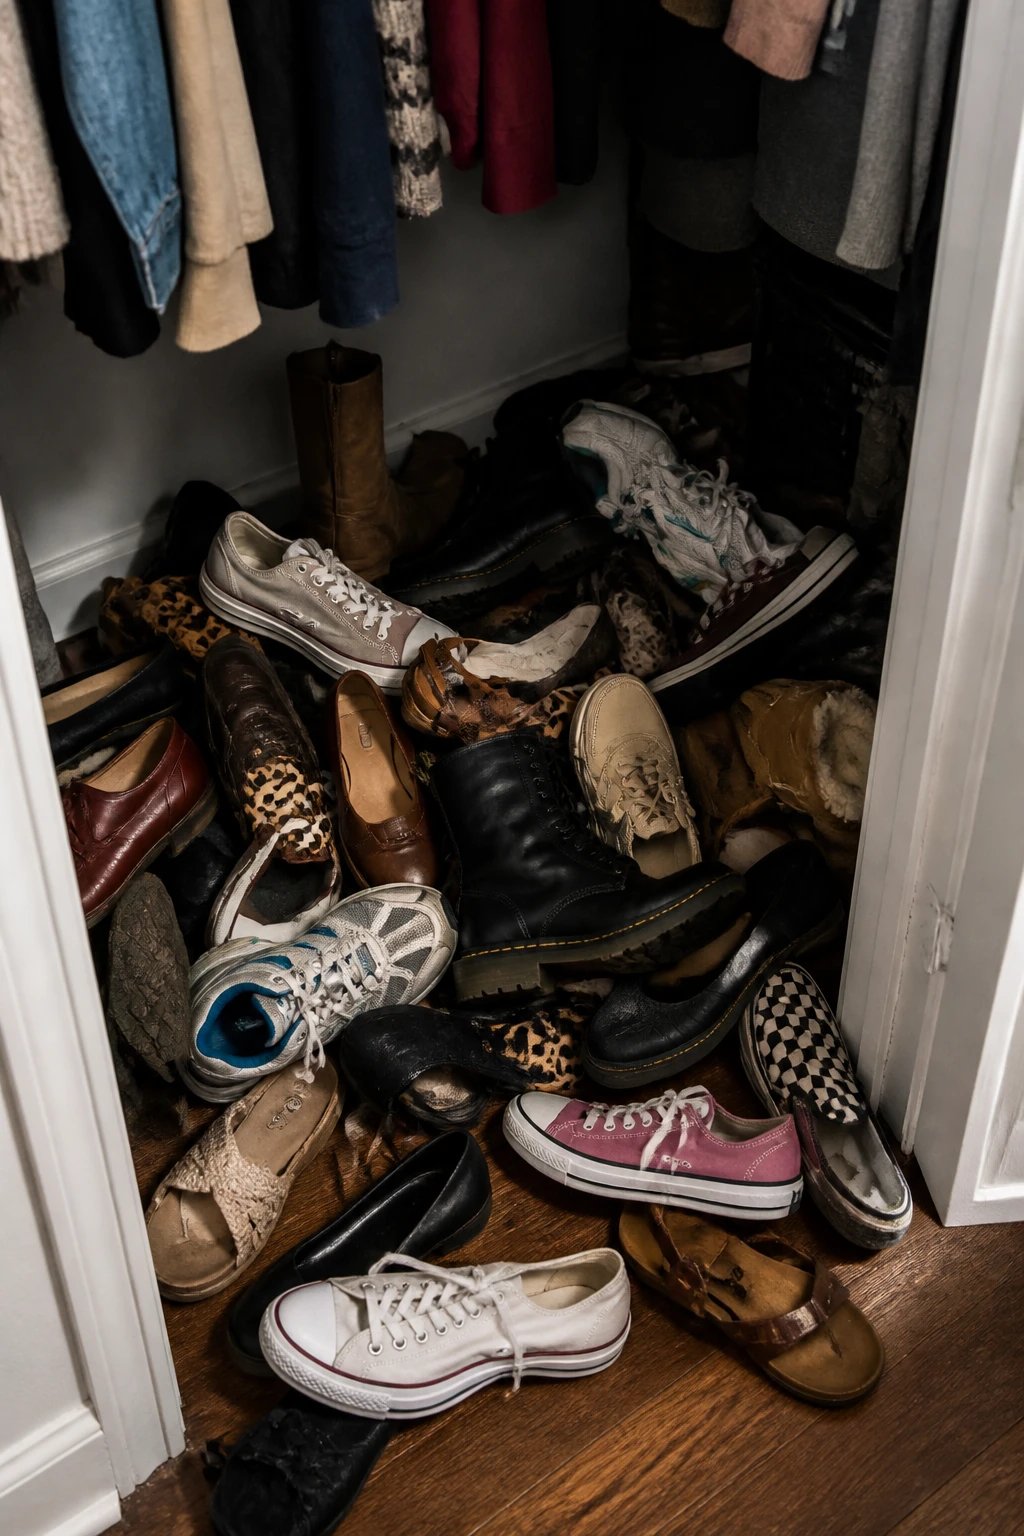
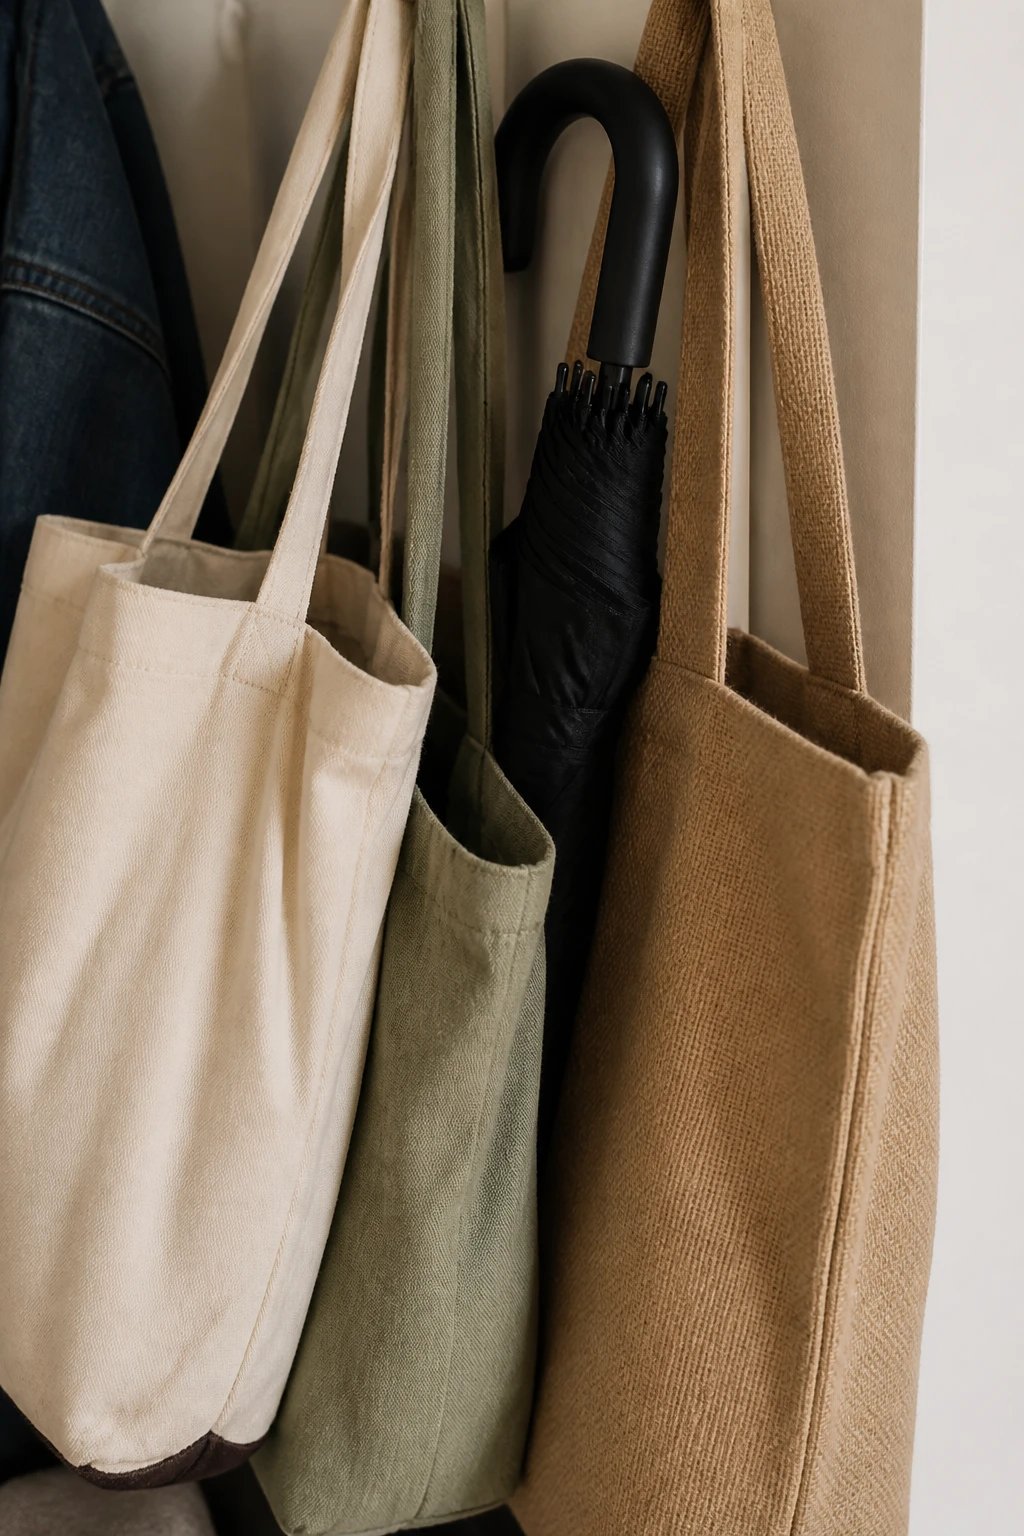
Our entry closet used to be where coats went to disappear. You’d open the door and get smacked with a jumble of shoes, mystery tote bags, and that rogue umbrella no one claims.
So we gave it a two-day glow-up. No contractors. No chaos. Just a weekend, a plan, and a little stubborn optimism.
The Before: A Black Hole With Hangers
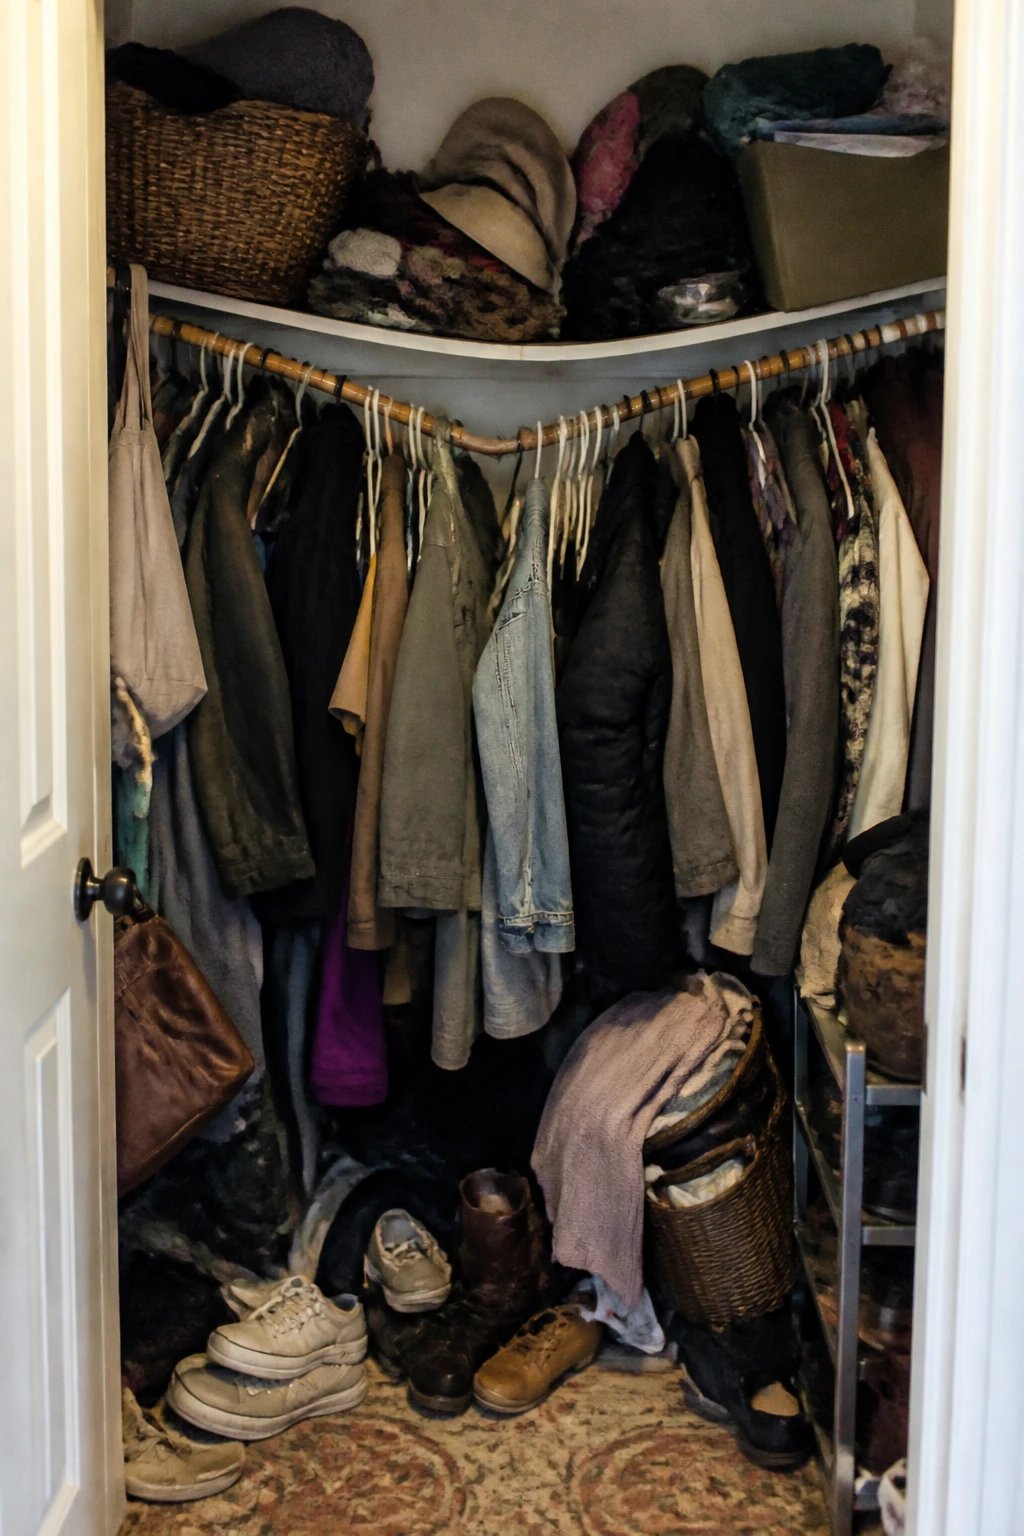
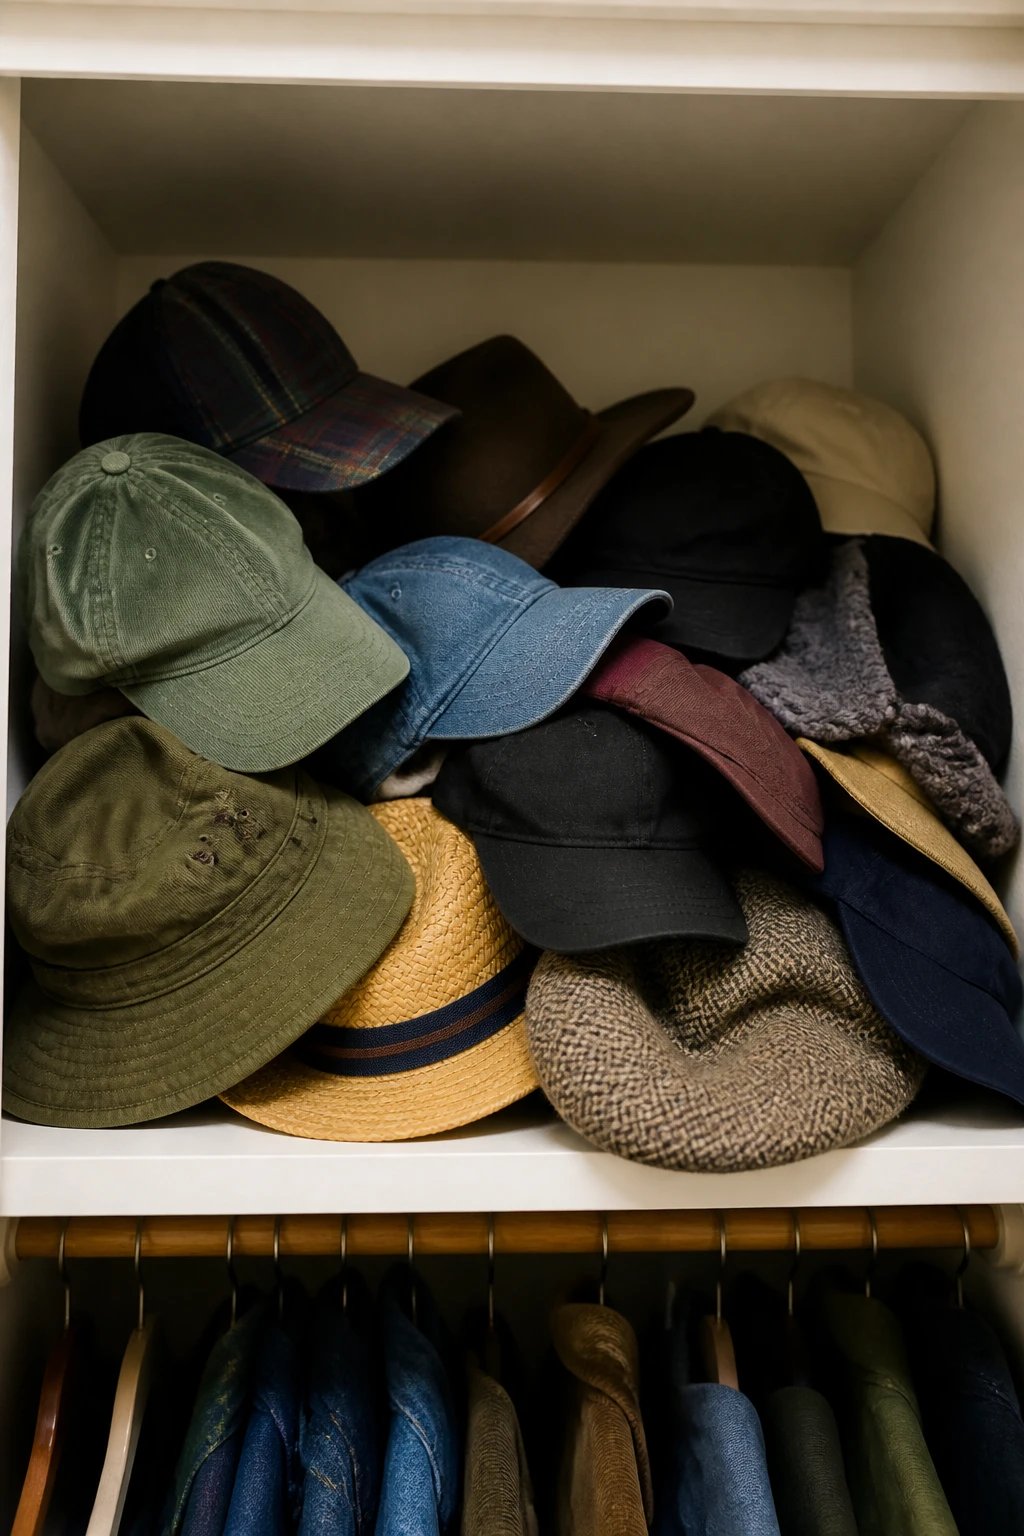
Picture a single sagging rod, a shallow shelf that held nothing well, and the entire floor swallowed by shoes. That was our “system.” We wasted time hunting for keys and hats. We also learned you can stack six beanies and still lose all of them.
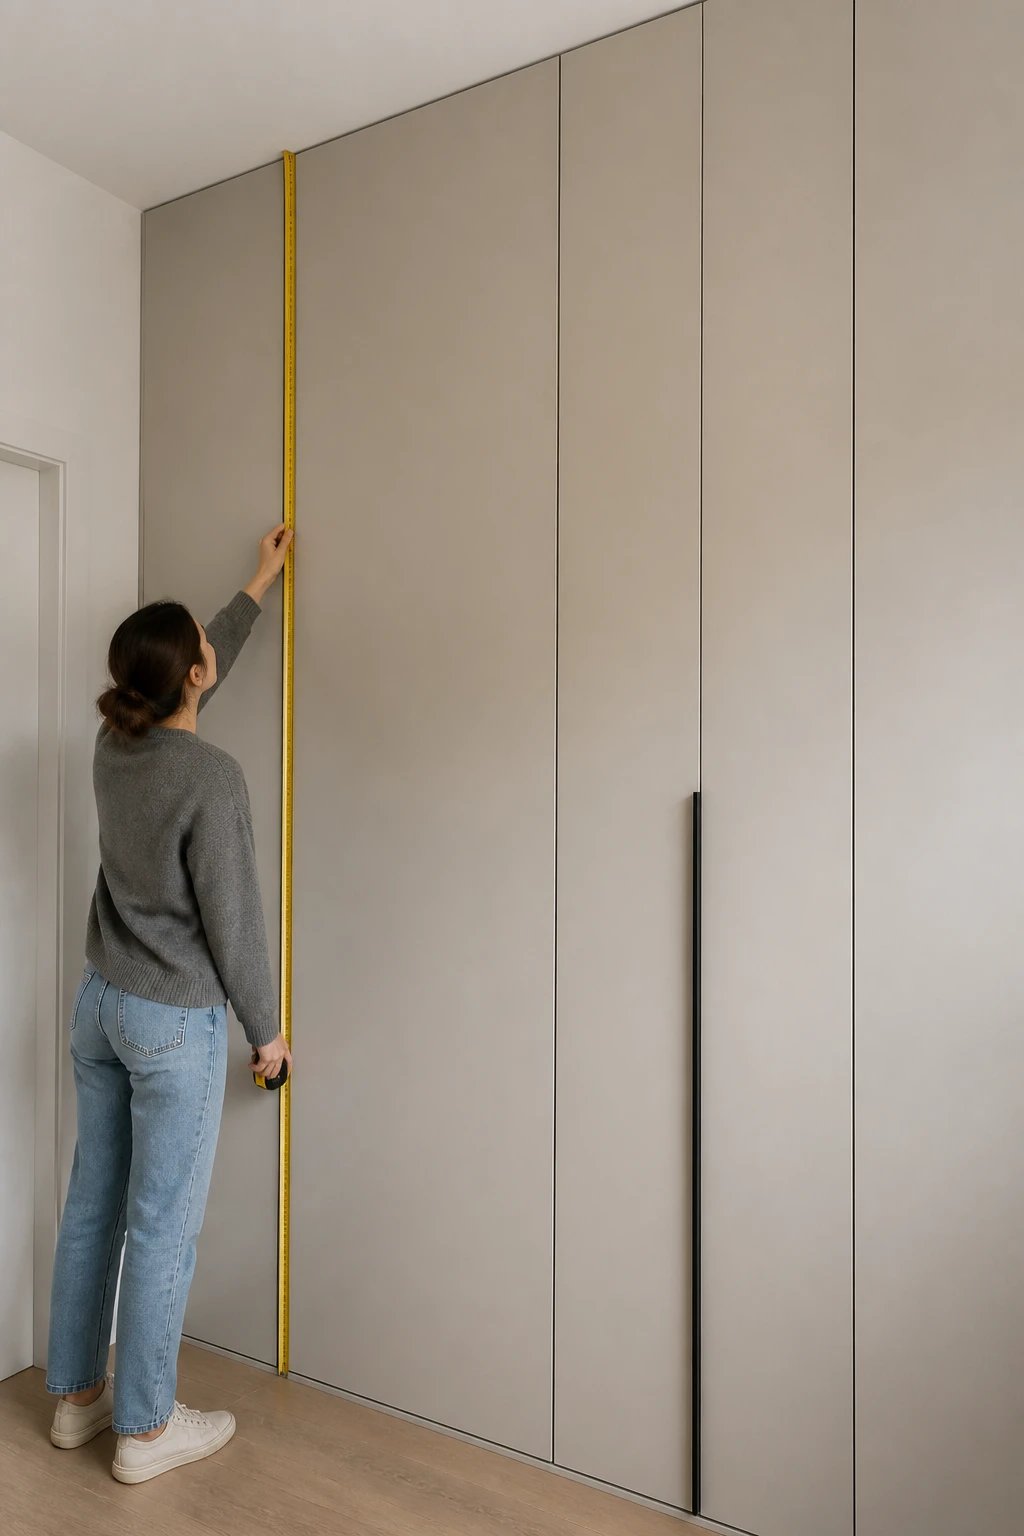
We measured the space and realized we had more vertical potential than horizontal. Tall ceilings, narrow footprint. Translation: stop tossing stuff on the floor and start using the walls.
The Game Plan (AKA: Saturday Morning Coffee Thoughts)
We didn’t sketch a full blueprint, but we made a simple checklist. You don’t need a design degree to plan a closet; you just need realistic goals.
Goals for the weekend:
- Make grabbing everyday items brainless
- Get shoes off the floor
- Add closed storage for the “uglies” (cables, pet stuff, random mail)
- Keep it renter-friendly (minimal wall carnage)
- Make it cute enough that we keep it tidy
Materials we used:
- Adjustable wall standards and brackets
- Two 12-inch-deep shelves (melamine for easy wipe-down)
- One solid wood shelf for the top “display” moment
- Sturdy coat hooks + a double hook rail
- Slim shoe rack + a couple of wire baskets
- Peel-and-stick wallpaper (removable!)
- Small battery motion sensor light
- Label maker because we’re those people now
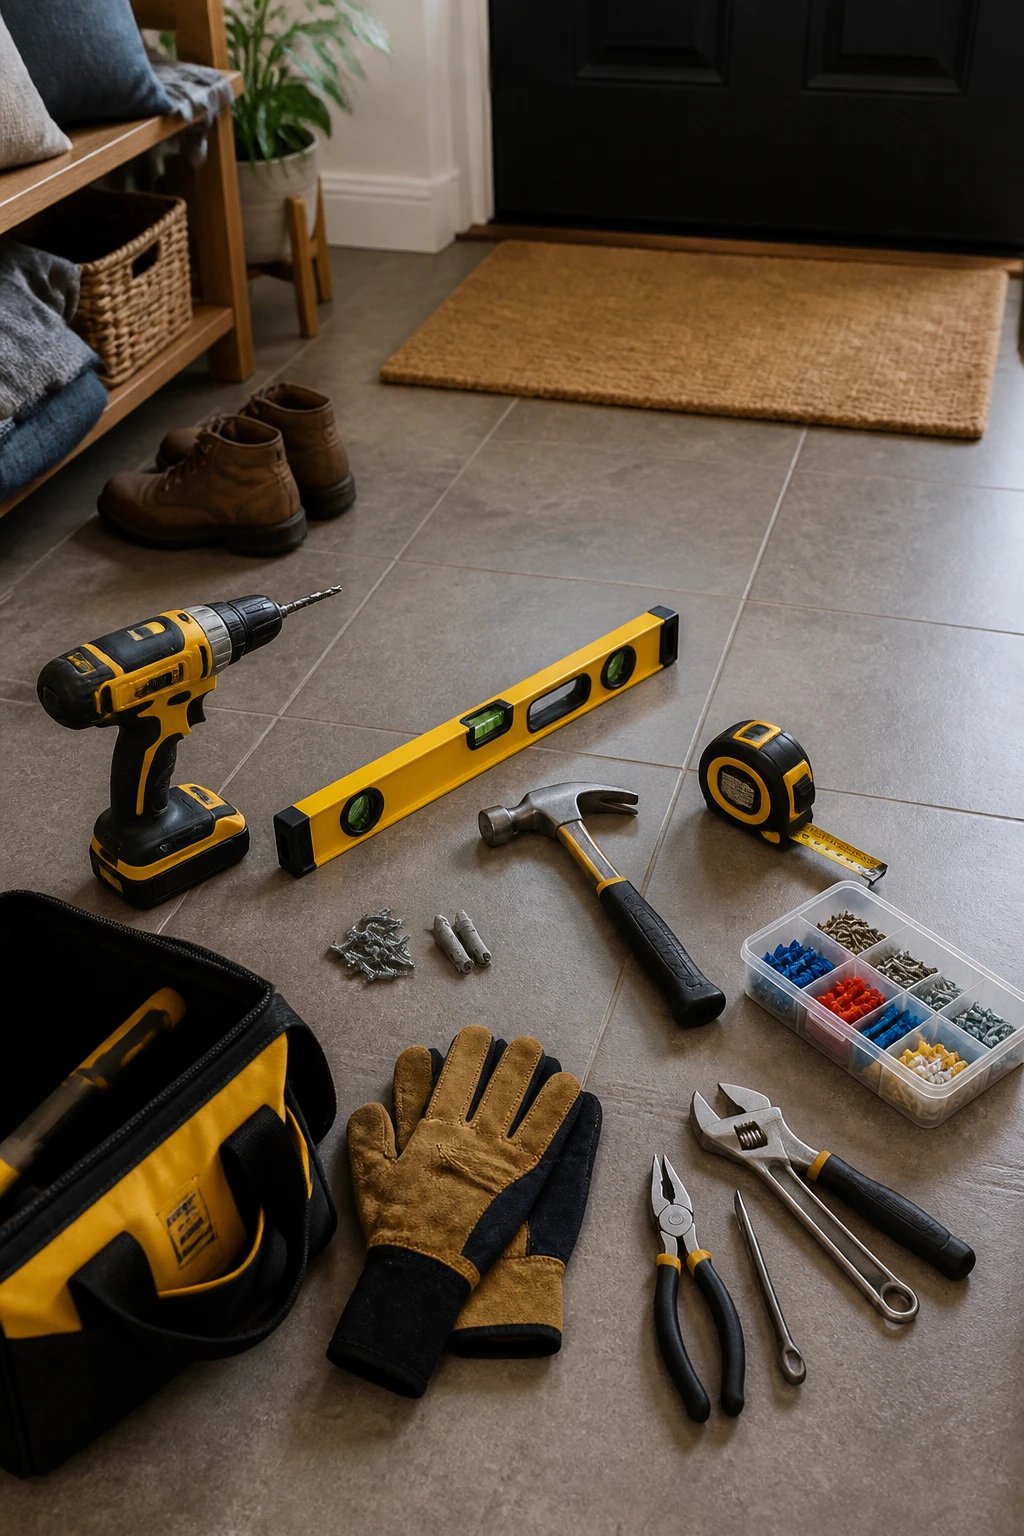
Tools that made it breezy
- Stud finder and level (non-negotiable)
- Drill/driver with wood and masonry bits
- Painter’s tape for layout
- Utility knife and straight edge (for wallpaper)
Demo + Prep: An Hour That Feels Therapeutic
We pulled everything out and sorted fast. Trash bag, donate bin, keep pile. No nostalgia allowed. If it didn’t earn its spot, it left.
Then we removed the old rod and shelf, patched holes, and hit the walls with a quick coat of leftover paint. Not required, but it’s like brushing your teeth before a first date. Worth it.
Wallpaper, But Make It Easy
We used peel-and-stick to add a little personality. It hides dings and makes the space look intentional. Pro tip: Start on the most visible wall and match the pattern along the top. If you mess up, peel it back and try again. It’s basically stickers for adults.
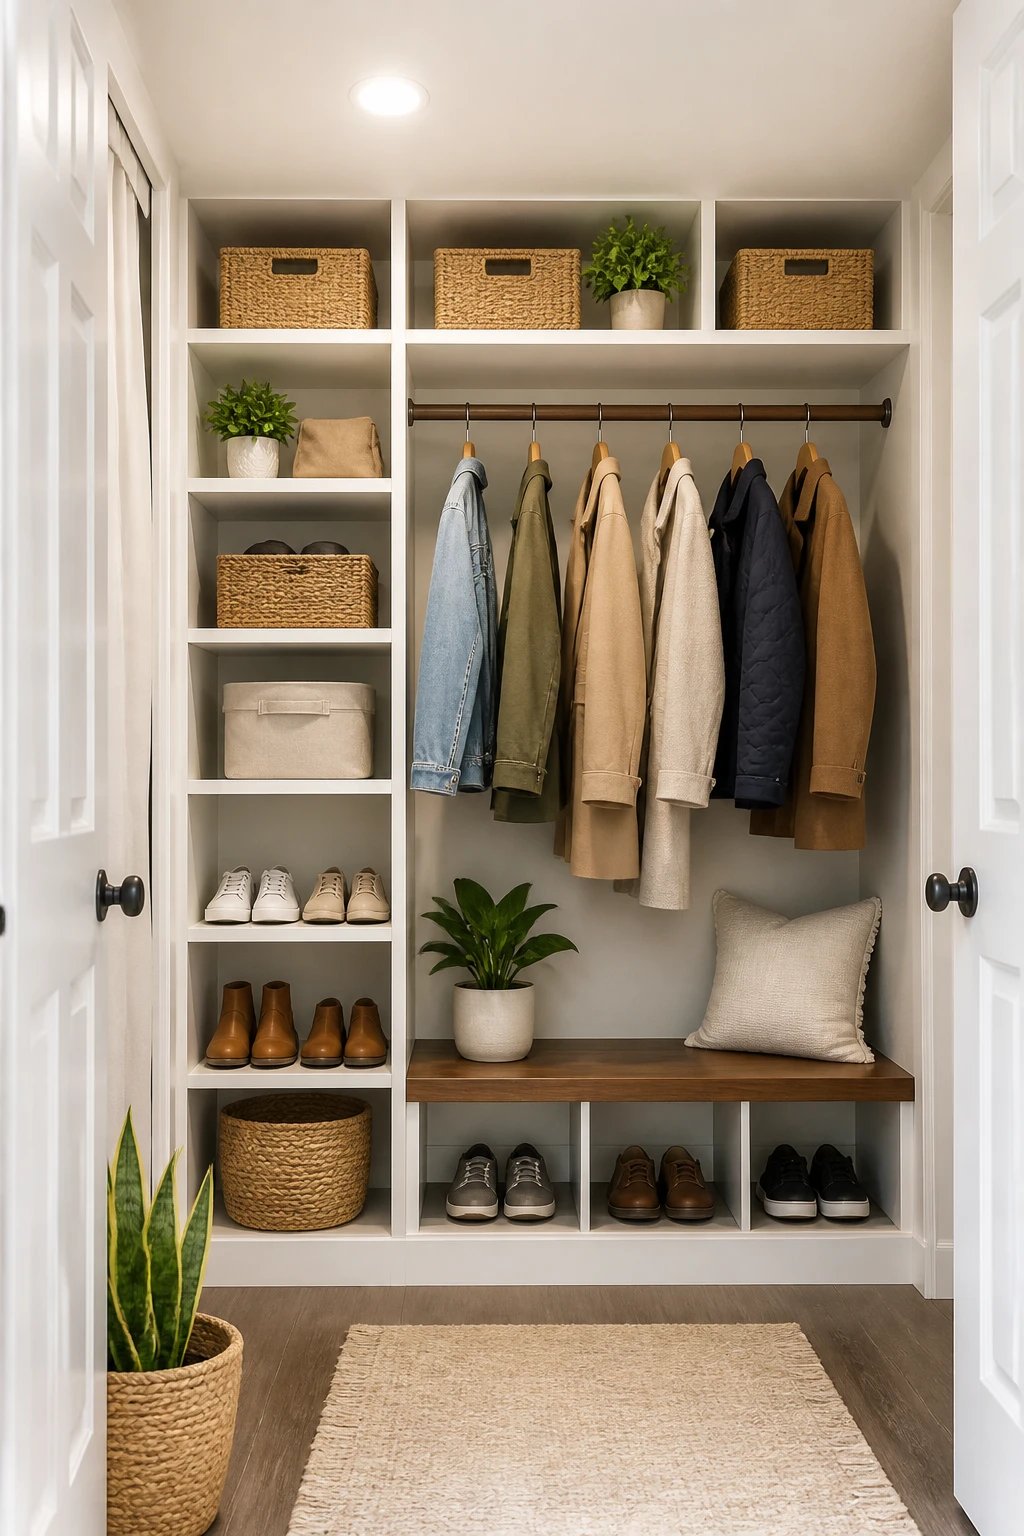
Smart Layout: Zones That Actually Work
We split the closet into three zones: high, middle, and low. Each zone got a job so we’d stop piling everything in one sad heap.
High Zone (Top Shelf + Seasonal)
- One solid wood shelf runs across the top for baskets
- We store off-season gear: winter scarves, beach towels, travel pouches
- Labels on each basket so you never “mystery-bin” again
Middle Zone (Everyday Reach)
- Three chunky coat hooks + a rail for guests or overflow
- One lower shelf holds two wire baskets: one for hats/gloves, one for dog walking stuff
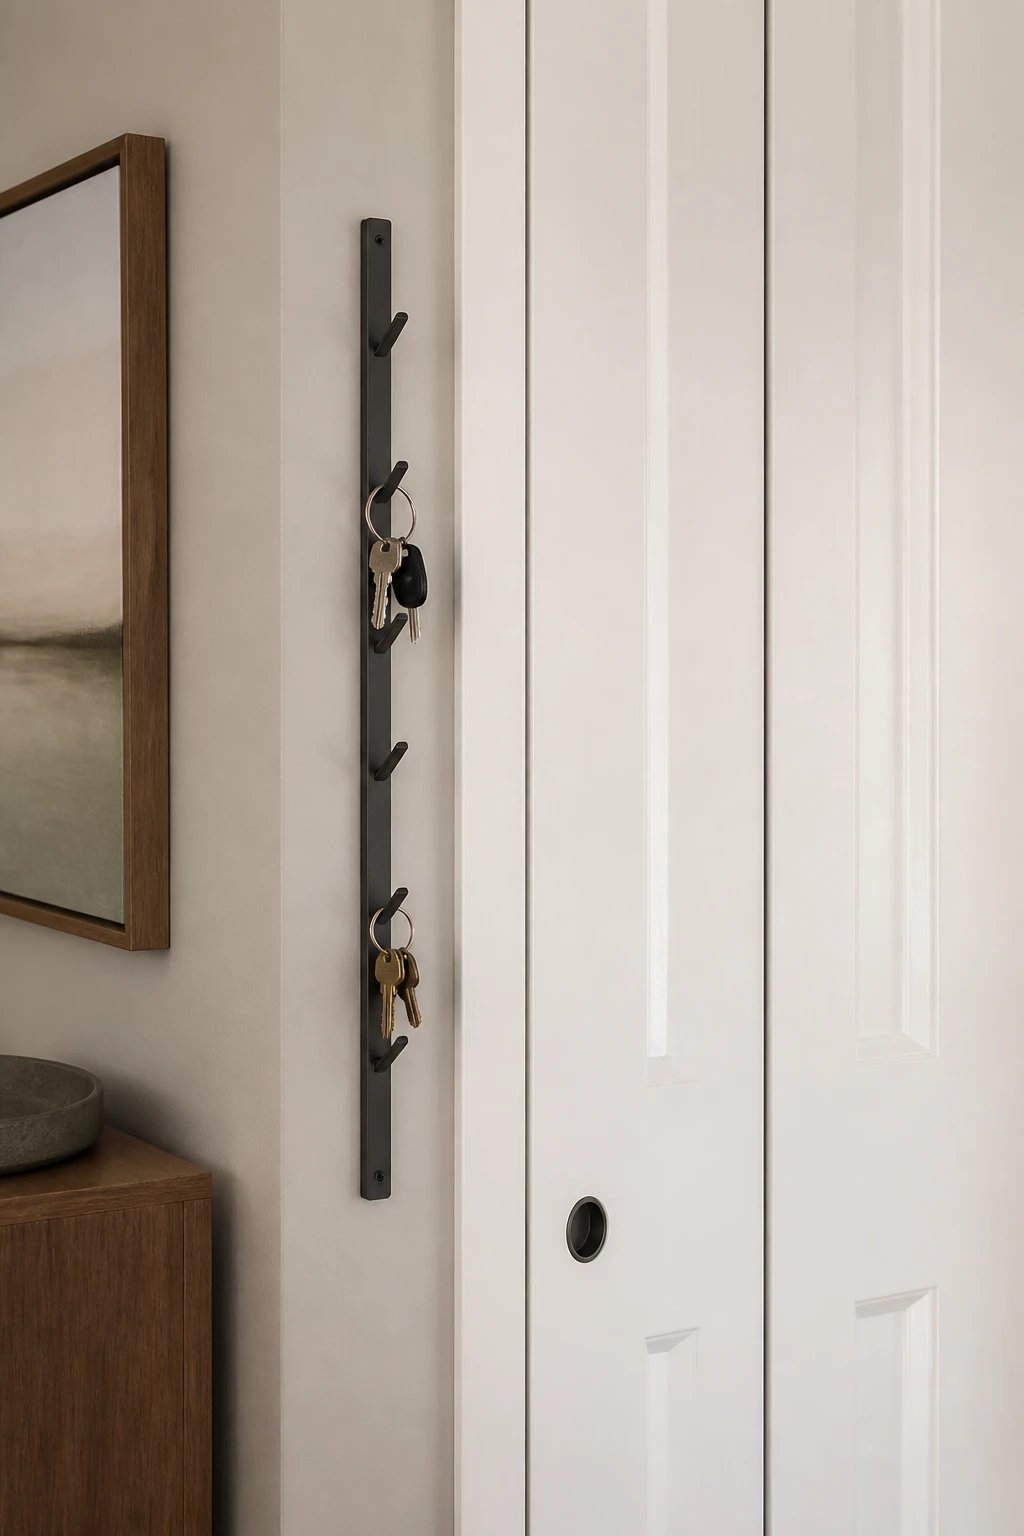
- A small tray for keys, sunglasses, and that one ChapStick we pretend to share
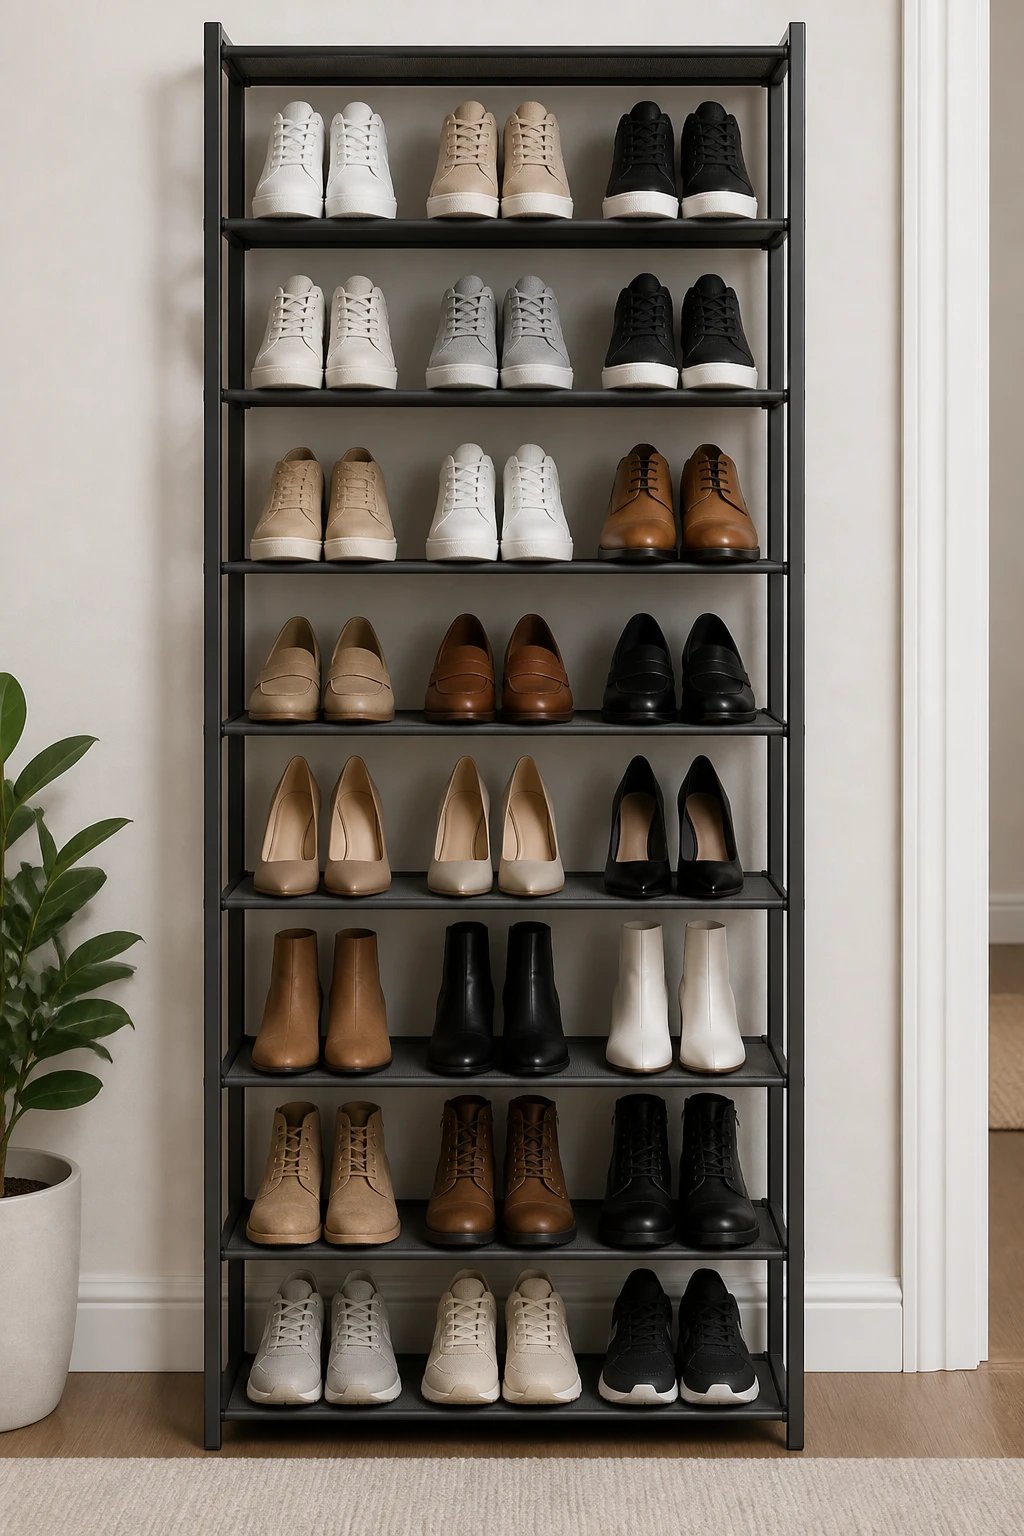
Low Zone (Shoes + Bags)
- Slim shoe rack for 8-10 pairs you actually wear
- Tall boots stand in a corner with boot shapers (old magazines work too—FYI)
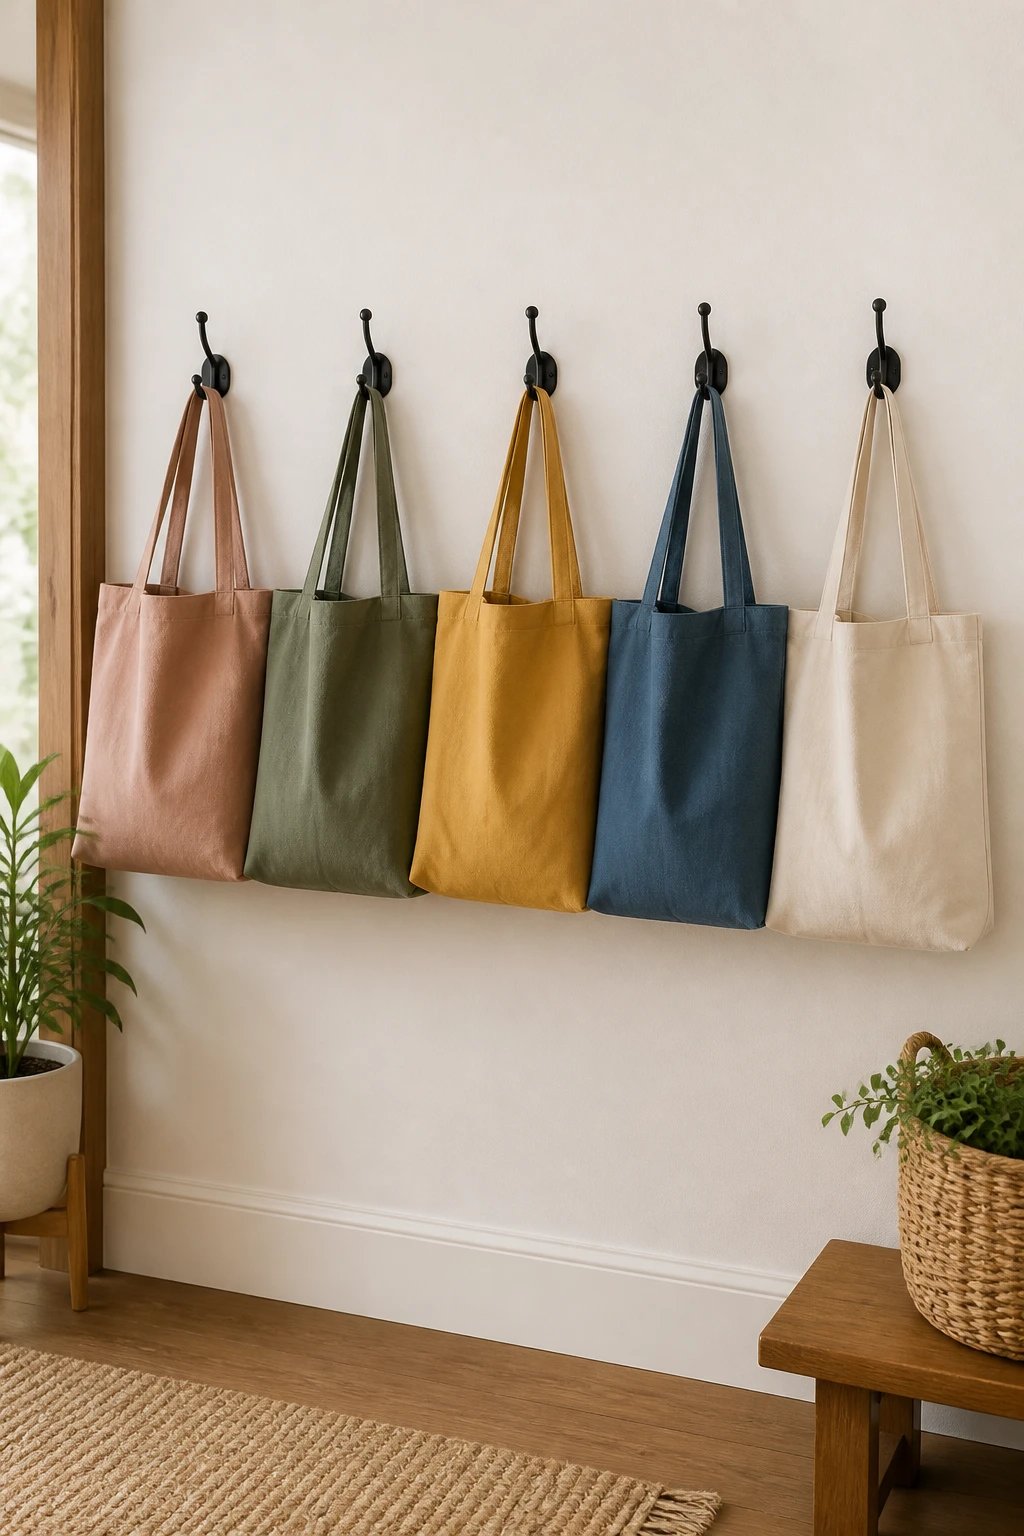
- Reusable grocery bags hang on a low hook so you’ll actually grab them
Why We Ditched the Long Rod
That single rod forced coats to fight for space and hid everything behind hangers. Hooks beat rods for small entry closets, IMO. Hooks make guests self-sufficient and keep bulkier pieces from hogging real estate.
Lighting, Labels, and Other Tiny Wins
We added a battery-powered motion sensor light to the ceiling. You open the door, and boom—visibility. It’s a tiny upgrade that changes everything, especially on dark mornings.
We labeled every basket and bin. Not cute-sy labels like “Stuff.” Literal labels: “Winter Hats,” “Dog Gear,” “Beach.” That saves arguments later. You know exactly where to toss and find things fast.
Finishing Touches You’ll Thank Yourself For
- Mat inside the closet to catch wet shoes
- Umbrella stand (aka a tall planter) near the door
- Command hooks on the inside of the door for masks, lint roller, and spare tote
The After: Calm, Not Complicated
Now the door opens without a shoe avalanche. Coats hang on hooks, and guests don’t ask where to stash their stuff. We can actually sweep the floor because, you know, we can see it.
What changed the game:
- Vertical space finally does its job
- Shoes off the floor = visual sanity
- Dedicated bins stop the “where does this go?” debate
- Motion light makes it feel fancy without wiring
Do we keep it perfect 24/7? Absolutely not. But reset takes two minutes, and that’s the sweet spot. If it takes longer, you won’t do it. IMO, the best design quietly bosses you around.
Budget + Time Breakdown
We kept costs friendly while still choosing sturdy pieces. You don’t want to redo this in six months.
Approximate costs:
- Adjustable standards, brackets, shelves: $120-$180
- Hooks and rail: $30-$60
- Shoe rack: $25-$60
- Wire baskets + labels: $30-$50
- Peel-and-stick wallpaper: $35-$70
- Motion light: $15-$25
Total: Somewhere between $225 and $445 depending on what you already own.
Timeline:
- Saturday AM: Empty, patch, paint touch-ups
- Saturday PM: Wallpaper + install standards
- Sunday AM: Shelves, hooks, shoe rack
- Sunday PM: Baskets, labels, styling, victory lap
Common Pitfalls (And How We Dodged Them)
- Too many shelves, not enough hooks: Coats need fast landings. Prioritize hooks.
- Going too deep: Shelves deeper than 12 inches get awkward in small closets.
- Ignoring studs: Find them. Use anchors rated for your load if you can’t.
- Skipping labels: You’ll forget your system by Wednesday. Label now.
- Buying before measuring: Measure twice, curse zero times.
FAQ
Can I do this in a rental without angering my landlord?
Yes. Use removable wallpaper, Command hooks for lighter items, and minimal holes for standards and heavy hooks. Patch and touch up when you move. Keep every screw and you’re golden.
What if my closet is super narrow?
Go vertical and go shallow. Use 8-10 inch shelves and stagger hooks. Consider a vertical shoe tower or over-the-door pockets for flats and gloves. Keep the floor as open as possible to avoid tripping.
Do I need a full shelving system, or can I mix pieces?
Mix away. A couple of adjustable standards and DIY shelves work great. Pair with individual hooks and a slim shoe rack. The key: consistent finishes so it looks intentional, not garage-sale chic.
How many hooks should I install?
Plan 1-2 per person, plus 3-4 for guests and overflow. Space them 6-8 inches apart horizontally and at least 8-10 inches vertically if you’re doing staggered rows. You’ll never regret extra hooks.
What’s the best way to handle mail and keys?
Mount a small tray or bin at hand height and commit to a daily drop spot. If you’re a super-piler, use a lidded box labeled “This Week.” Sort it every Sunday. Two minutes, tops.
How do I keep it from sliding back into chaos?
Set a monthly five-minute reset: shoes back on rack, swap seasonal gear, toss the randoms. Keep an empty donation bag on the top shelf to catch outgrown or unused items. Convenience beats willpower every time.
Conclusion
A tiny entry closet can either greet you with calm or side-eye you with clutter. With a weekend, a few smart pieces, and some fearless editing, you can build a setup that handles real life. Hooks over rods, shelves you actually use, bins with honest labels—that’s the recipe. Do it once, do it right, and your weekday mornings will thank you. FYI: smug satisfaction when you open that door? Totally included.